
Understanding Your Electric Kiln.

Rohde TE-S
This post is something of a departure from my usual content so if you’re only here for the pretty pots then feel free to skip it. For reasons I’ll explain below, I’ve recently had to re-teach myself a heap of science in order to optimise my kiln setup and I thought - for those of you who like me aren’t jobbing electricians - it may be worth sharing in order to help you with your own kiln problems.
This post goes a little way into explaining some of the issues you might come across with your electric kiln; the pitfalls to avoid and some tips on trouble-shooting when things do inevitably go wrong.
Aren’t kilns wonderful? They’re this shiny cupboard into which mud, oxides and flux are placed and a few - ok, more than a few - hours later (inshallah) out pop some enchantingly beautiful shiny objects. To most of us Kilns are mysterious things which tend to go wrong more than the average electrical appliance. But we have to forgive them for that as they endure more than most - like 1200 degrees centigrade more! Kilns going wrong is like a GWR train being late, it is inevitable and will most probably happen just when you need that bloody train to be on time!
Kilns in Crisis.
First week of December and the worst thing happens; one of my kilns starts malfunctioning; a firing which normally takes 6 - 8 hours took well over 14 - in fact the firing took so long and the heat work built up significantly the thermo-computer turned the kiln off. Unfortunately by this point all my work was over fired😢. Now when you have planned your making and firing schedules down to the hour this really is a pooper. At this point I was determined to understand a little more about the workings of my kilns - namely electricity - and how and why they go wrong and some of the best ways to try and avoid/delay the inevitable.

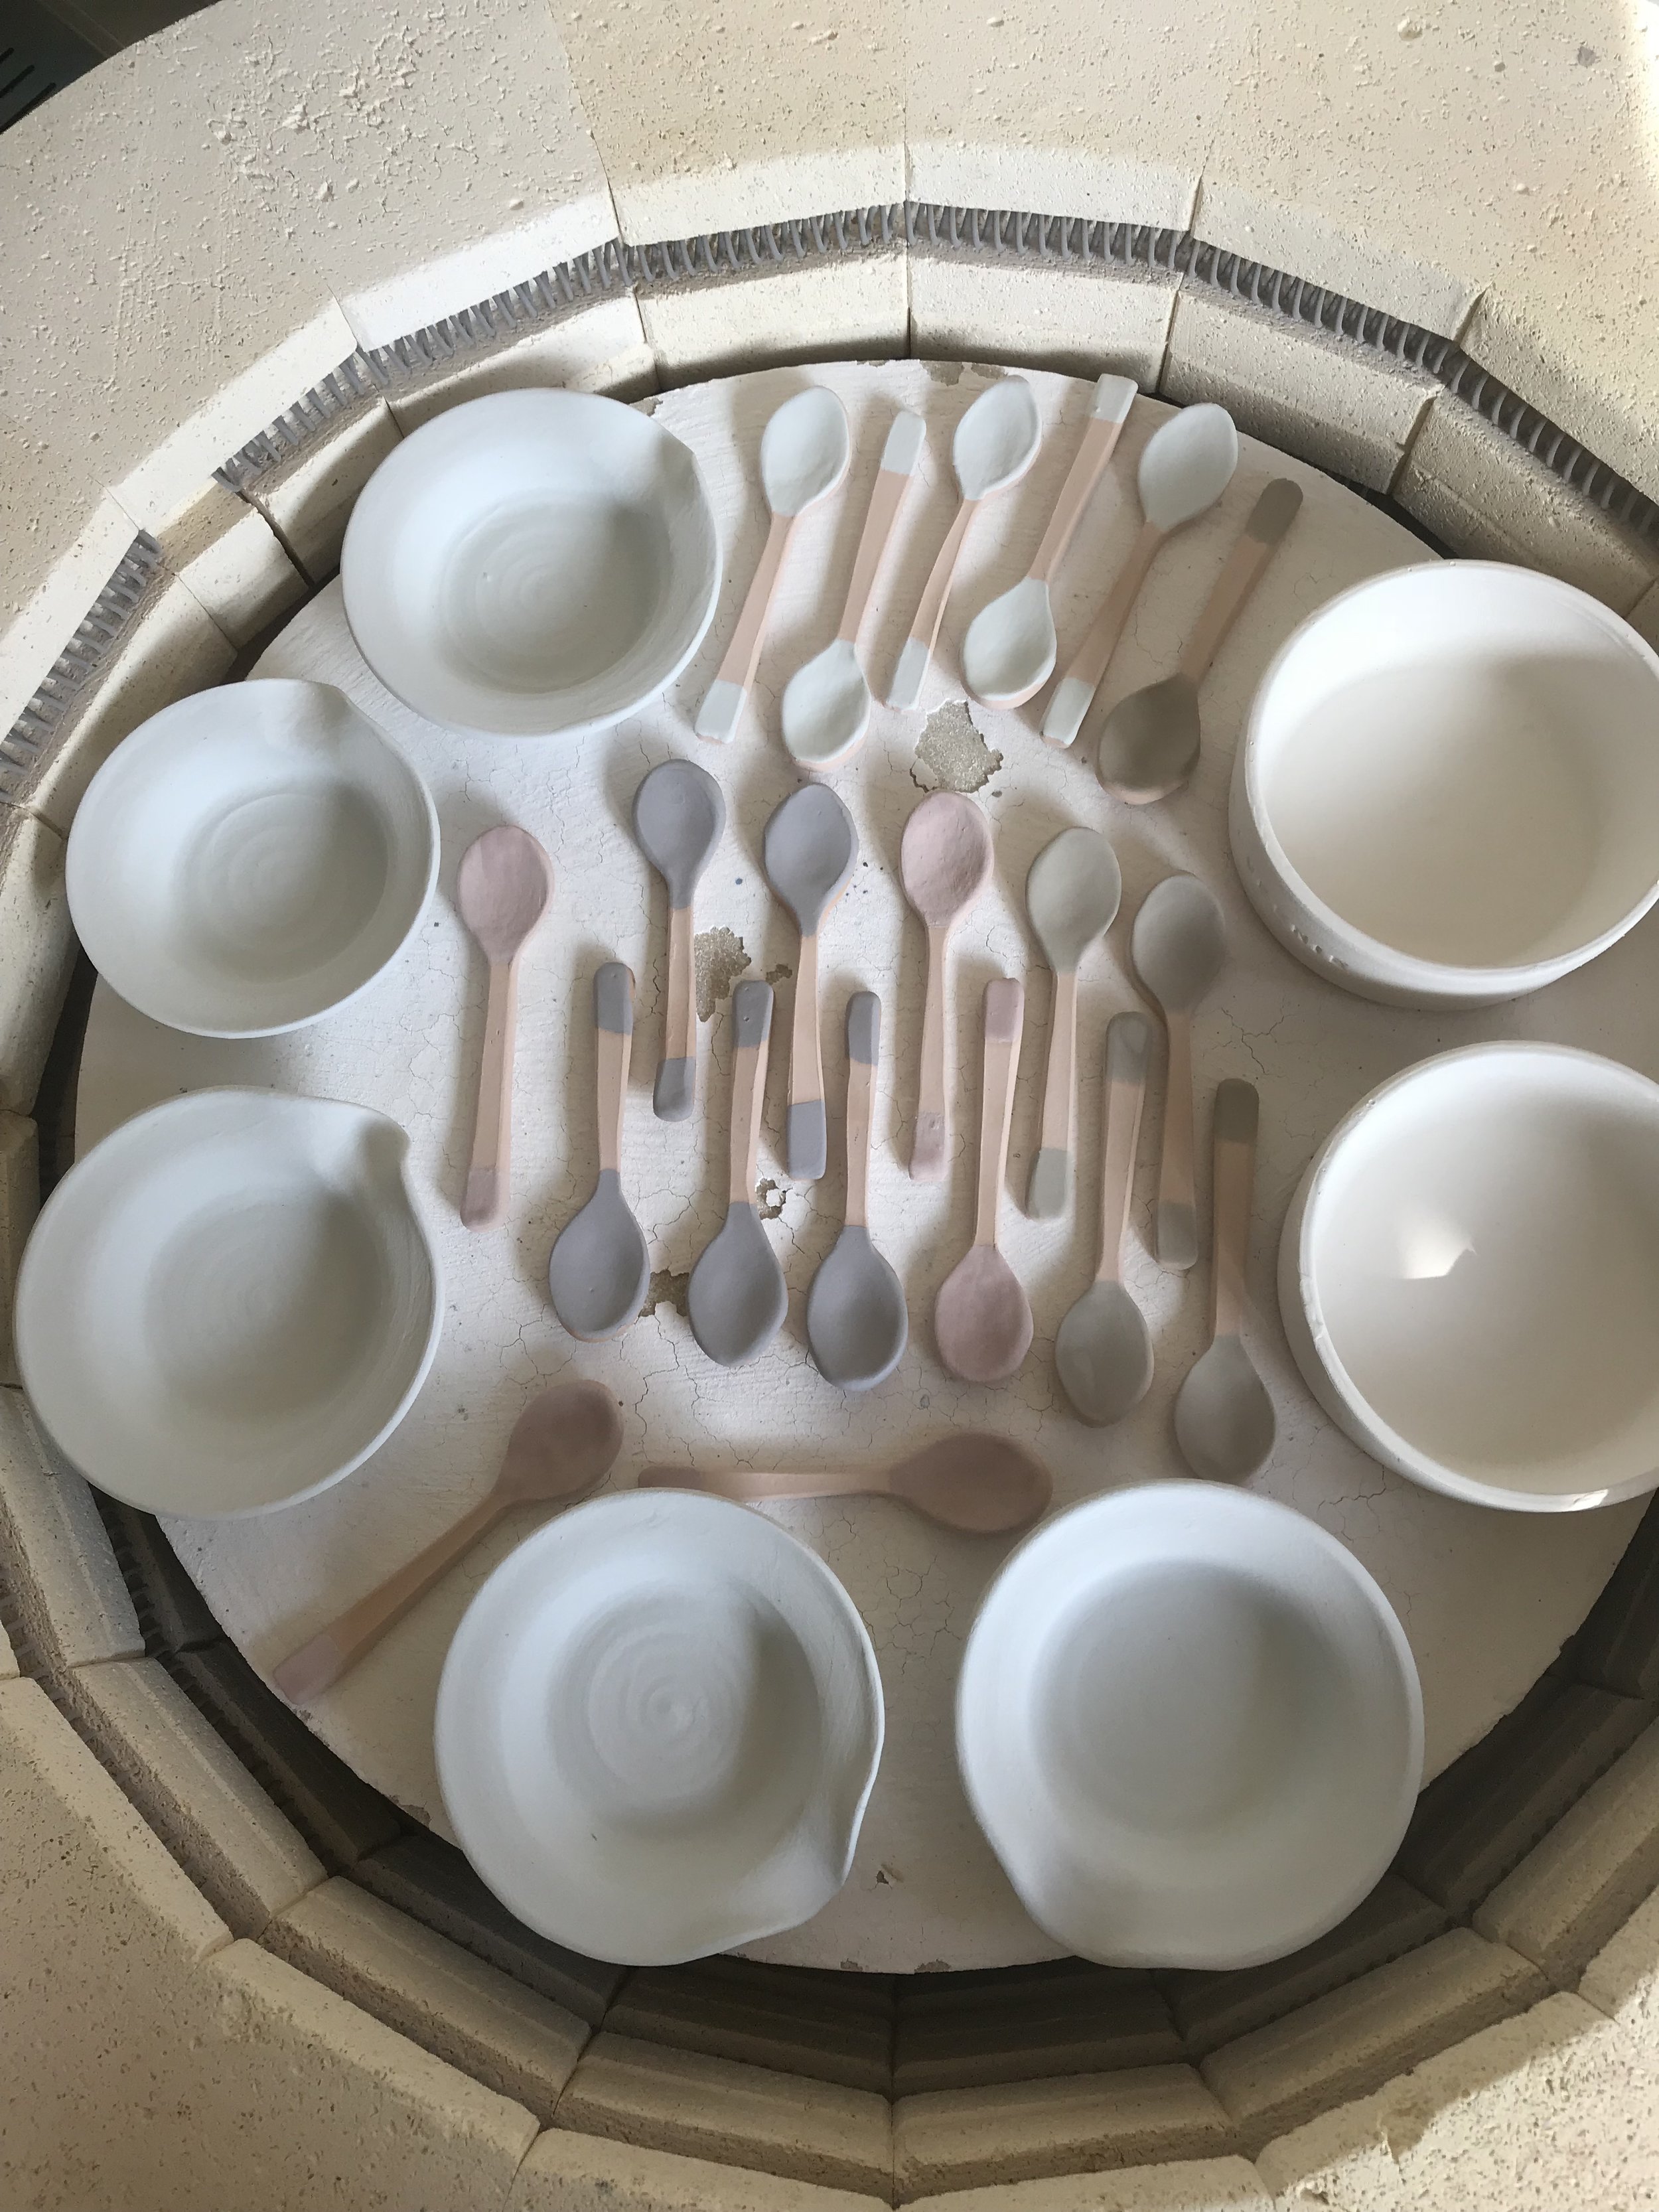
Photo by Thomas Kelley on Unsplash
I have two kilns. My first kiln is a little Rohde Eco-Top Loader and my second is a 95 Litre Rohde TE-S (the ‘S’ stands for sport ;-) I remember being scared of my kiln when it first arrived. Terrified in fact, I had to ask a friend of mine (who’s a scientist - hi Ro!👋🏻) to help me set it up and stay with me throughout the first firing for fear of burning down my whole street.
I was ok at science at school. Actually, I am going to give myself more credit than that - I was good at it, really good at it - I got Double A in my GCSEs physics and was encouraged to do it for A ‘ levels’ (of course I did art instead ;-) ‘cause that was the sensible option and would give me the most job opportunities right? oh wait…)
Newton’s Law: ‘For every action there is an equal and opposite reaction’. Just made sense to me. But there is a whole bunch of physics involved in pottery- dontchaknow. Throwing on the wheel is the ultimate balancing act of forces- training your hands to exert just the right amount of pressure on the right point of the clay, in harmony with the wheel, so it reacts and moves into the shape you want. And don’t even get me started on Chemistry! So that’s why I’m particularly annoyed that 20 years later I can’t remember a bloody thing about my lessons on electricity. The past few days I have spent several hours googling and watching Youtube videos of science professors to relearn the things I have forgotten ( namely all of it). I am by no means a physics professor and please anybody who has greater knowledge of the subject than me feel to correct me in the comments below but here is my understanding in simpleton terms.
The science bit…
A bit of background physics which helped me to understand how my kiln works…
Electricity - electricity is the flow of electrons through a conductor.
Volts - is the pushing power, the potential, it pushes the current along the conductor. Kilns are designed to work on a certain voltage. For instance my big kiln is designed to work on single phase 230V which is what all UK house holds are supplied with.
Amps - the current; how many electrons pass a certain point per second. Higher the Amperage the more power a kiln needs. My big kiln is 31A, my small kiln is 13A (which means it can plug straight into a normal socket).
Watts - is the unit of power. Every electrical item is rated in watts. My small kiln is rated at 2,9kw. My big kiln is rated at 7,3kw. (you can calculate how much your kiln costs to fire by calculating cost/kW-hr (which is on your leccy bill) x kiln kW rating x how long your firing x 0.6 (duty cycle - because the relays are only on 60% of the time*)
Resistor - All circuits have a resistor. A resistor is an appliance: a light bulb, a kettle - a kiln.
What is in a kiln (apart from pots)?
Kilns are actually quite simple, they are just like a big kettle, minus the water. They have few but very important components which need to work in harmony in order for the kiln to work well. Here are the main parts of a kiln and things which can go wrong:
Elements - the coils of metal wire which emit heat. Elements ware out. FACT: some ware out quicker than others. Elements last approx 100 firings (if firing to cone 6) but if you don’t look after them or fire to cone 10 they will die much quicker. Elements are a resistor. They have to resist the electricity in order to heat up. The voltage cant get through the elements quick enough, the energy needs to go somewhere - and it is released as heat. Elements have a resistance rating. The ones in my kiln have a resistance rating of 19 Ohms. But if that resistance gets much higher than maybe 21 Ohms the kiln will not be able to draw enough power through to get hot enough. This is when firing starts to slow down. Ohms law from science class; V=IR. (Voltage = Current x Resistance) If your kiln is firing slow, the first thing to check are your elements. You can measure their resistance with an Ohmmeter.
Symptoms your elements need changing: your kiln is taking longer to fire. A lot longer! My smaller kiln will do a stoneware firing in 8 hours with fresh elements. When the elements are on their last legs this is pushed up to 12- 14 hours. Elements can start to lay down flat. Parts might not glow (if you crack the kiln open after heating it up for 10 mins). There might be an obvious crack or burnt out area. If a bit of glaze or ceramic material has been in contact with it during a firing will cause an element to burn out.
Thermocouple- this part detects the temperature changes in the kiln. It tells the computer when to ask for power and when to not. Symptoms of a dud? - the heat work is wildly off what the computer is telling you, it doesn’t switch off when it gets to peak temperature. You can see damage to the tip under the little ceramic sheath.
Relay switches - these switches turn on the power when the controller tells them to. Worn out relays can be the cause of slow or incomplete firings. Other more obvious signs of relay failure are if zone’s in your kiln are lagging behind in temperature considerably or if you notice an entire ring of elements not heating/glowing. If you can’t hear them clicking on and off during the firing then you have a problem.
What is a volt drop?
Now not all 230 volts from the national grid gets to your kiln; some of it will be used up along the way e.g. in the cable from the breaker box to my shed (NB: having a kiln at the bottom of your garden will mean there is a lot of potential for voltage drop via a long power cable) via the kettle in your kitchen, via electric heater, via the cooker etc… kilns can work with less than 230V of course but a significant voltage drop will cause the firing to take longer than normal.
So what did I do to remedy my problem? well first I cried, then I called a kiln technician, (hi Andy 👋) and cried at him. Luckily Andy, came out and saved the day. He checked the voltage in my kiln shed and took an Ohms reading of my elements. He discovered that the combination of a slight voltage drop and slightly worn elements means that my kiln could not reach temperature. The power hungry Christmas season; lights on, heating (which is electric in our house) and cooking, in combination with elements that were a little old may have caused a drop in voltage in my house/area significant enough to stop my kiln from being able to draw enough power. He also discovered that there was some arching occurring in the plug of my kiln so he hard wired it reducing the resistance here too. He also changed the elements for newer ones. This helped me understand that there are many reasons why a kiln might not be getting to temperature. The main reason is probably the elements, your elements are integral to the health of your kiln.
How to take care of your elements
Don’t put wet greenware in your kiln.
Don’t open your kiln when it’s too hot (even on a dummy firing when there is no work in it) this will shock the elements and weaken them.
Ensure you do an initial firing right up to stoneware this will give the elements a protective aluminium- oxidised coating which will help protect them and help them last longer.
Allow your freshly glazed work to dry over night before firing it. This is hard I know and I’ll be the first to admit that when I am on a deadline I have put freshly glazed pots in the kiln and firing it up but I try to avoid it if at all possible.
Some glazes can be harsher on elements than others. Crystaline glazes or reduction glazes will be harder on elements than others.
Keep vents open in a bisque firing, keep them open to 600 degree in a glaze firing
Vacuum your kiln to get rid of debris and dust
Inspect the elements regularly
Fire your kiln empty every so often
Use cones so you know what heat work you are getting in your firings. Remember heat work is different to temperature.
I have totally over-simplified some things here but I hope it has helped a little to explain to fellow potters - who are perhaps new to firing - some of the mysteries of that magic box which gives us shiny things, all the faffing about has certainly helped me understand my own kilns better.
SAFETY WARNING: working with kilns can be very dangerous. As we all know live electricity can kill so please exert extreme caution when working around kilns. Ensure ALL kilns are disconnected from the mains before you work on them, the best option is to always ask a trained professional electrician or kiln engineer to carry out any maintenance.
If you enjoy my blog, found it helpful or inspiring - you’re going to really love My Pottery Club
My Pottery Club is a place where I share even more insights into my pottery world - monthly real time video pottery tutorials, lessons and learnings from my 15 Years of potting, PLUS limited edition work and seconds sales. I’d love to see you there!
K x
*source: http://riograndeblog.com/firing-a-kiln-is-very-expensive-true-or-false/