
How I built my pottery studio...
During the summer of 2018, against all the odds, I built a pottery studio. here’s how I did it (in brief)…
{Full disclosure - I have linked to a few paint products here which are affiliate links - I will earn a very small commission if you buy from these links. The paint products I used have stood the test of over a years wear and tear so that’s why I feel like I can recommend them}
My studio took years of dreaming, months of planning and weeks for the build to be complete. This blog is not my recommendations as such, it is more of a diary of what we did, peppered with some of my learnings. You might find it a useful addition to your own research if you are planning to build a studio/ garden building/ home office yourself
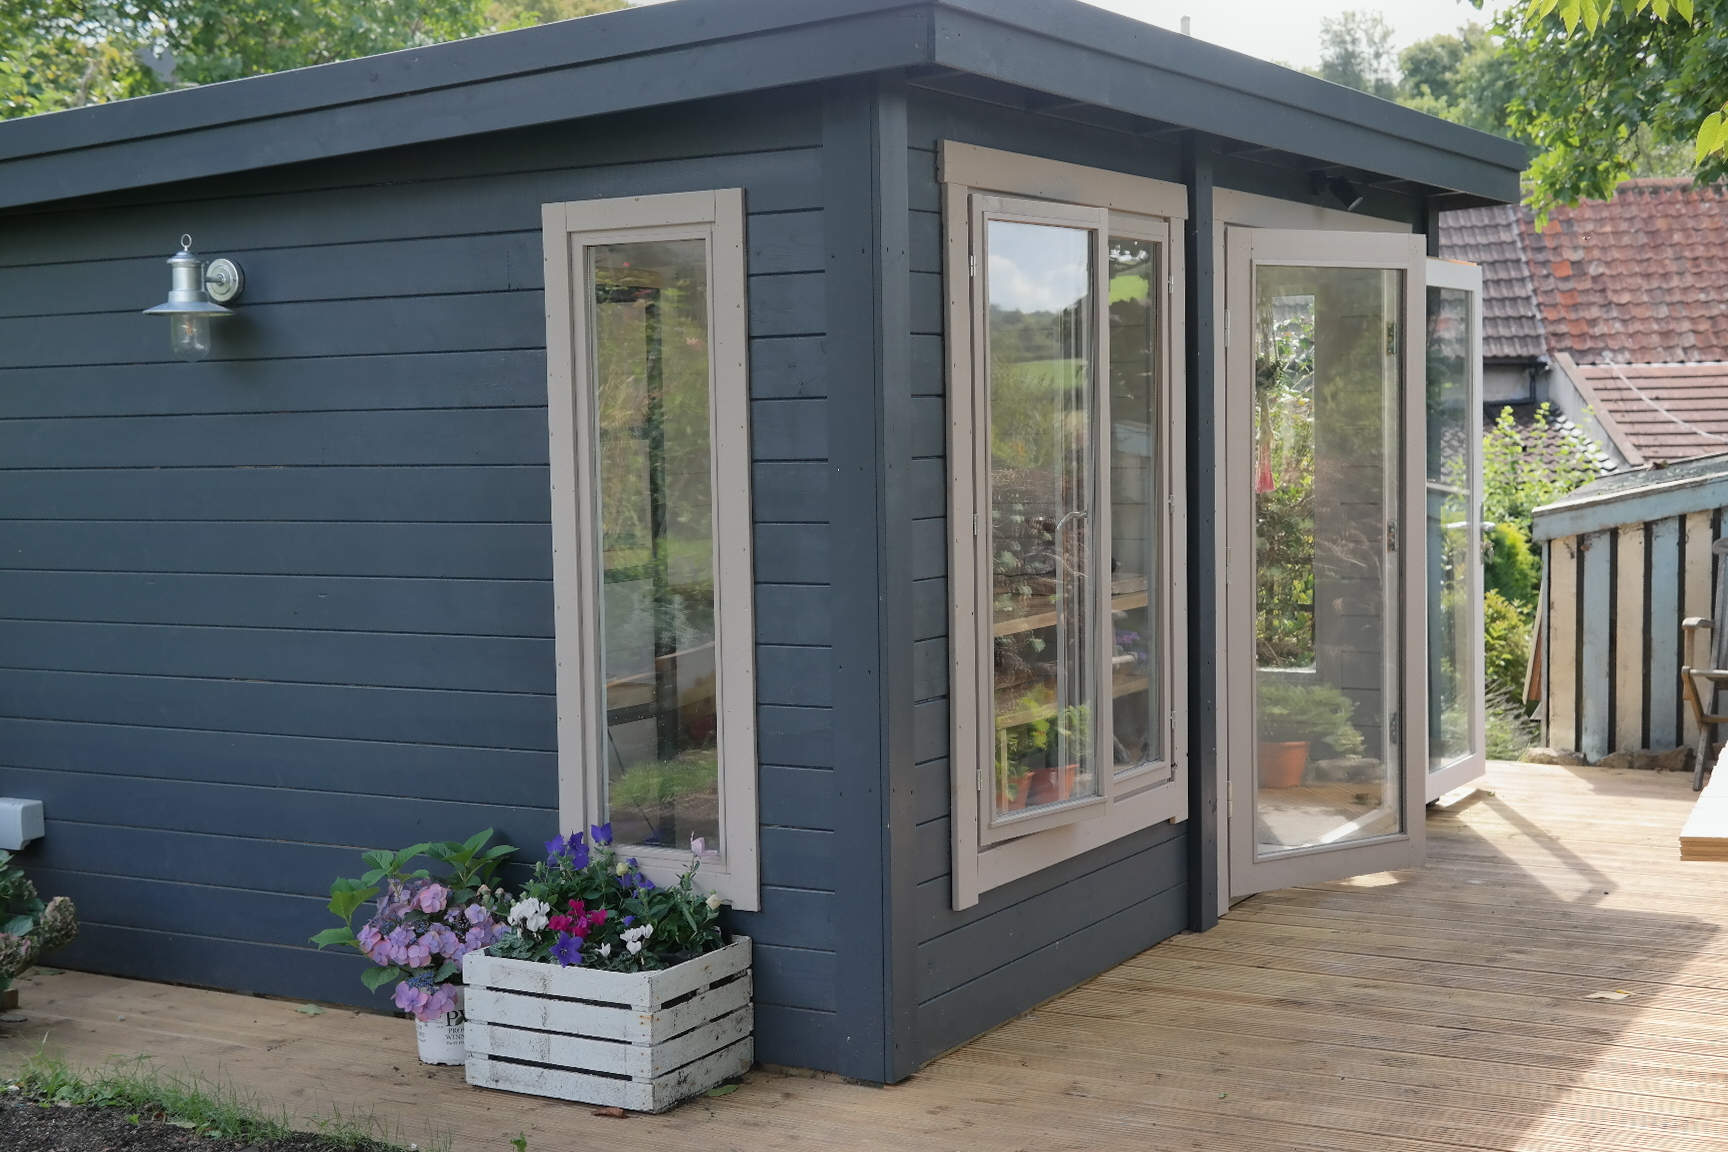
I’d been dreaming of having my own dedicated work space for about 10 years. My new studio is a 117 square foot (3m x 4m) purpose built wooden cabin studio, prior to this I was working from a 6ft x 12ft shed painted like a beach hut. I love my little shed - it was already in situ when we bought our house 5 years ago (before I became a potter full-time) and its existence was part of the reason I was able to give up my job to become a potter but as my business grew it soon became apparent I needed more space. With my wheel, kiln, shelves and buckets of glazes it was cozy to say the least - I was working on top of myself and was very limited to how much work I could produce. I needed a larger kiln and my little studio was just not big enough to fit everything in. I also wanted the opportunity to invite others to share in my love of pottery by teaching. I didn’t want to rent a studio so there really was only one option...to build one.
The research commenced
I went to a lot of log cabin retailers, did hours of research on the internet - Pinterest mainly and chatted to others potters about their studios. What worked for them and what didn’t.
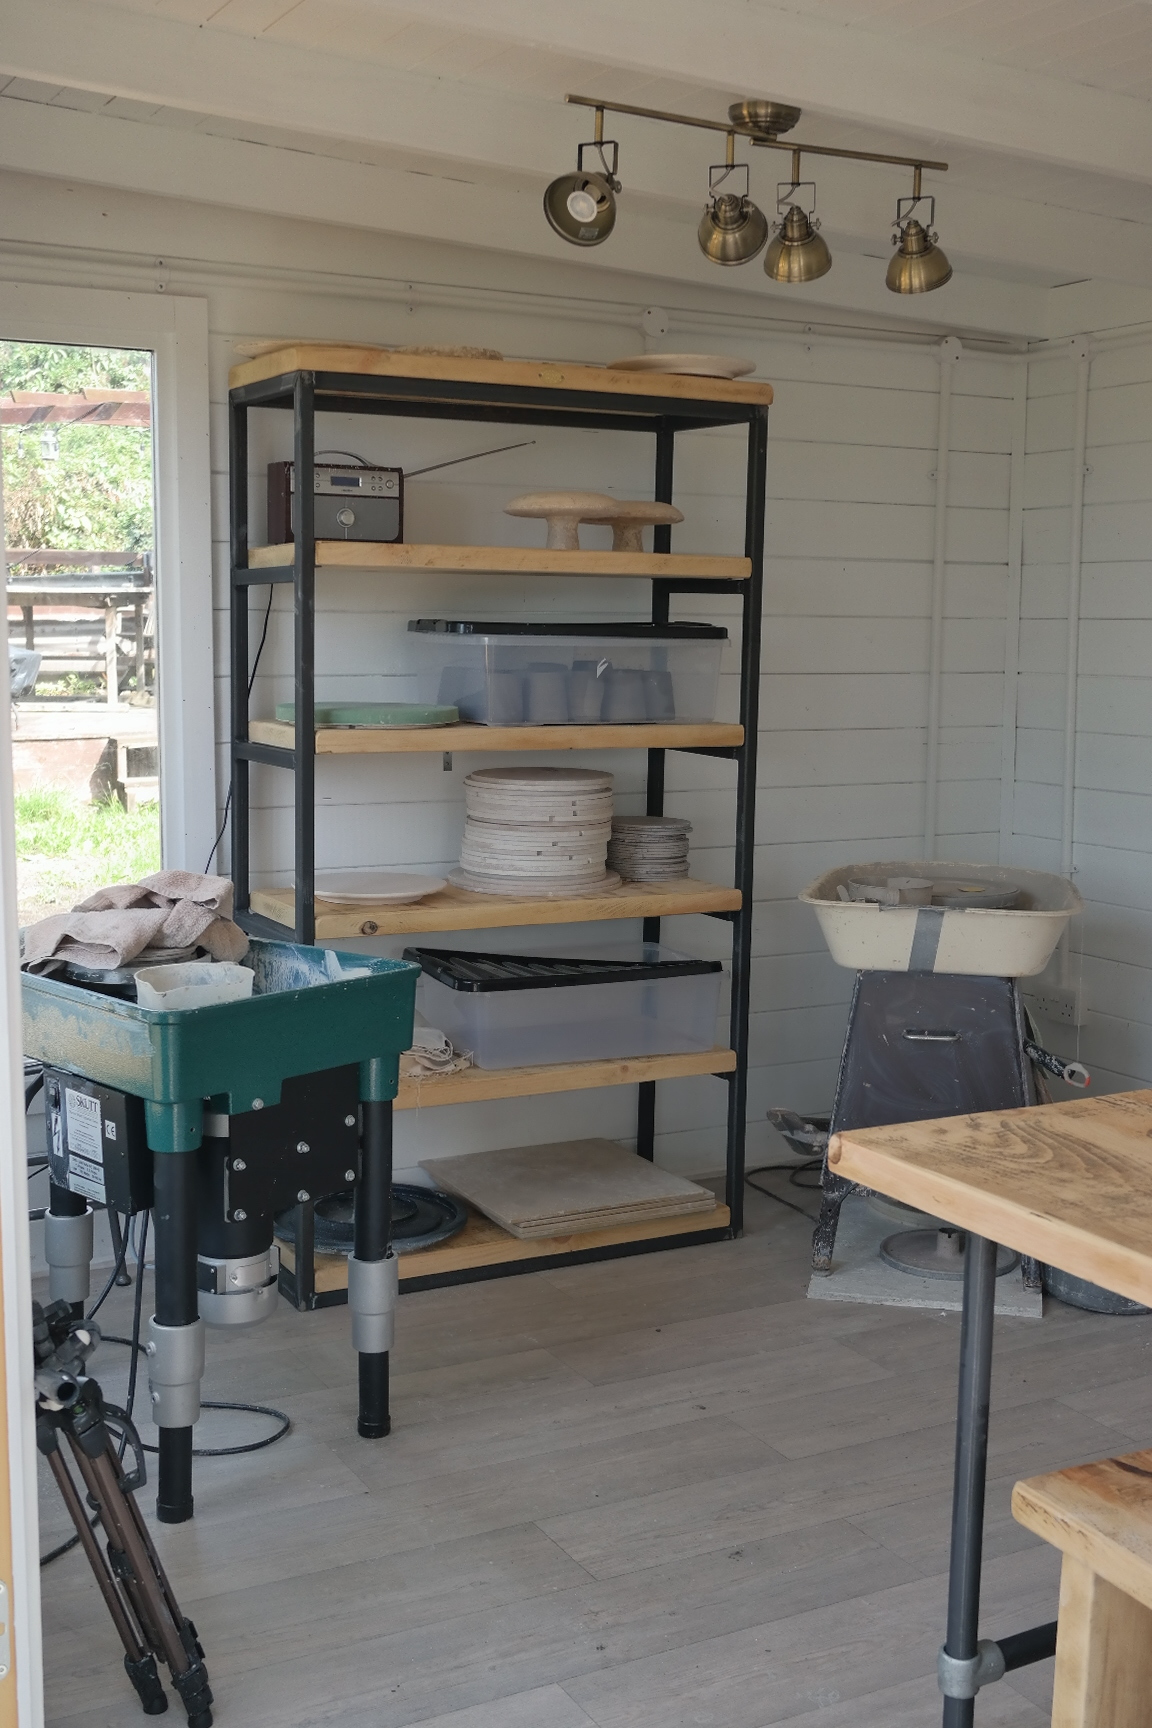
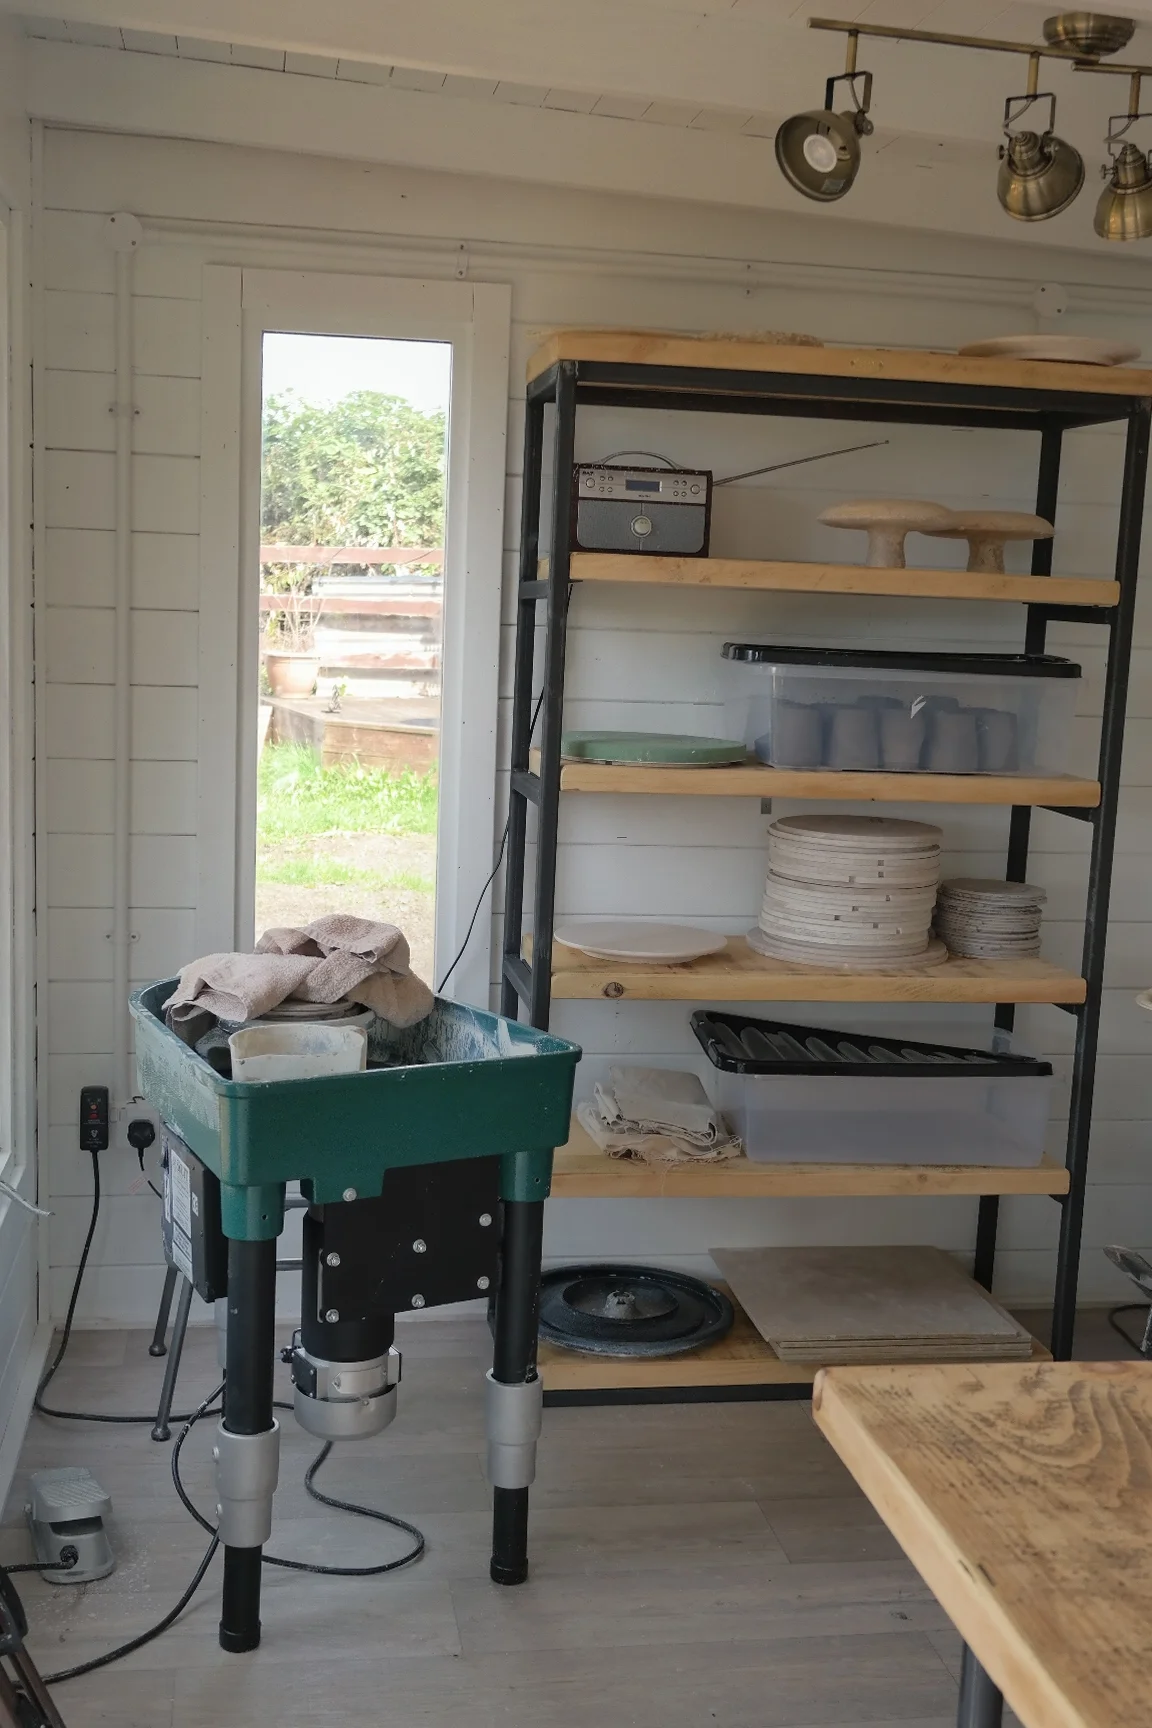
I knew I wanted it to be light and airy, have space for two wheels, lots of shelving (a potter can never have enough shelves) and running water. Warm in the winter and cool in the summer. I wanted it to be a creative oasis, a calm, beautiful space which I loved spending time in. I made my own vision board- putting something down on paper/ digitally made a dream seem one step closer to being reality. Click here to see my Pinterest board.
Eventually, I decided upon a company called Lillevilla. Their cabins come off the peg so are more affordable than the fully bespoke Malverns which I also coveted.
We are lucky to have a big garden- it’s actually bigger than our house in square footage but this didn’t necessarily mean finding a place to put the studio was easy. We marked it out with stakes and string in several different locations before settling on the final plot. It was important for us to still be able to enjoy our garden, the lovely views of countryside we are so lucky to have and for it to not throw the lawn in permanent shade. We wanted to work in harmony with the outdoors and not to feel incongruous. We also didn’t want to annoy our neighbours in any way by it over looking there plot.

The construction
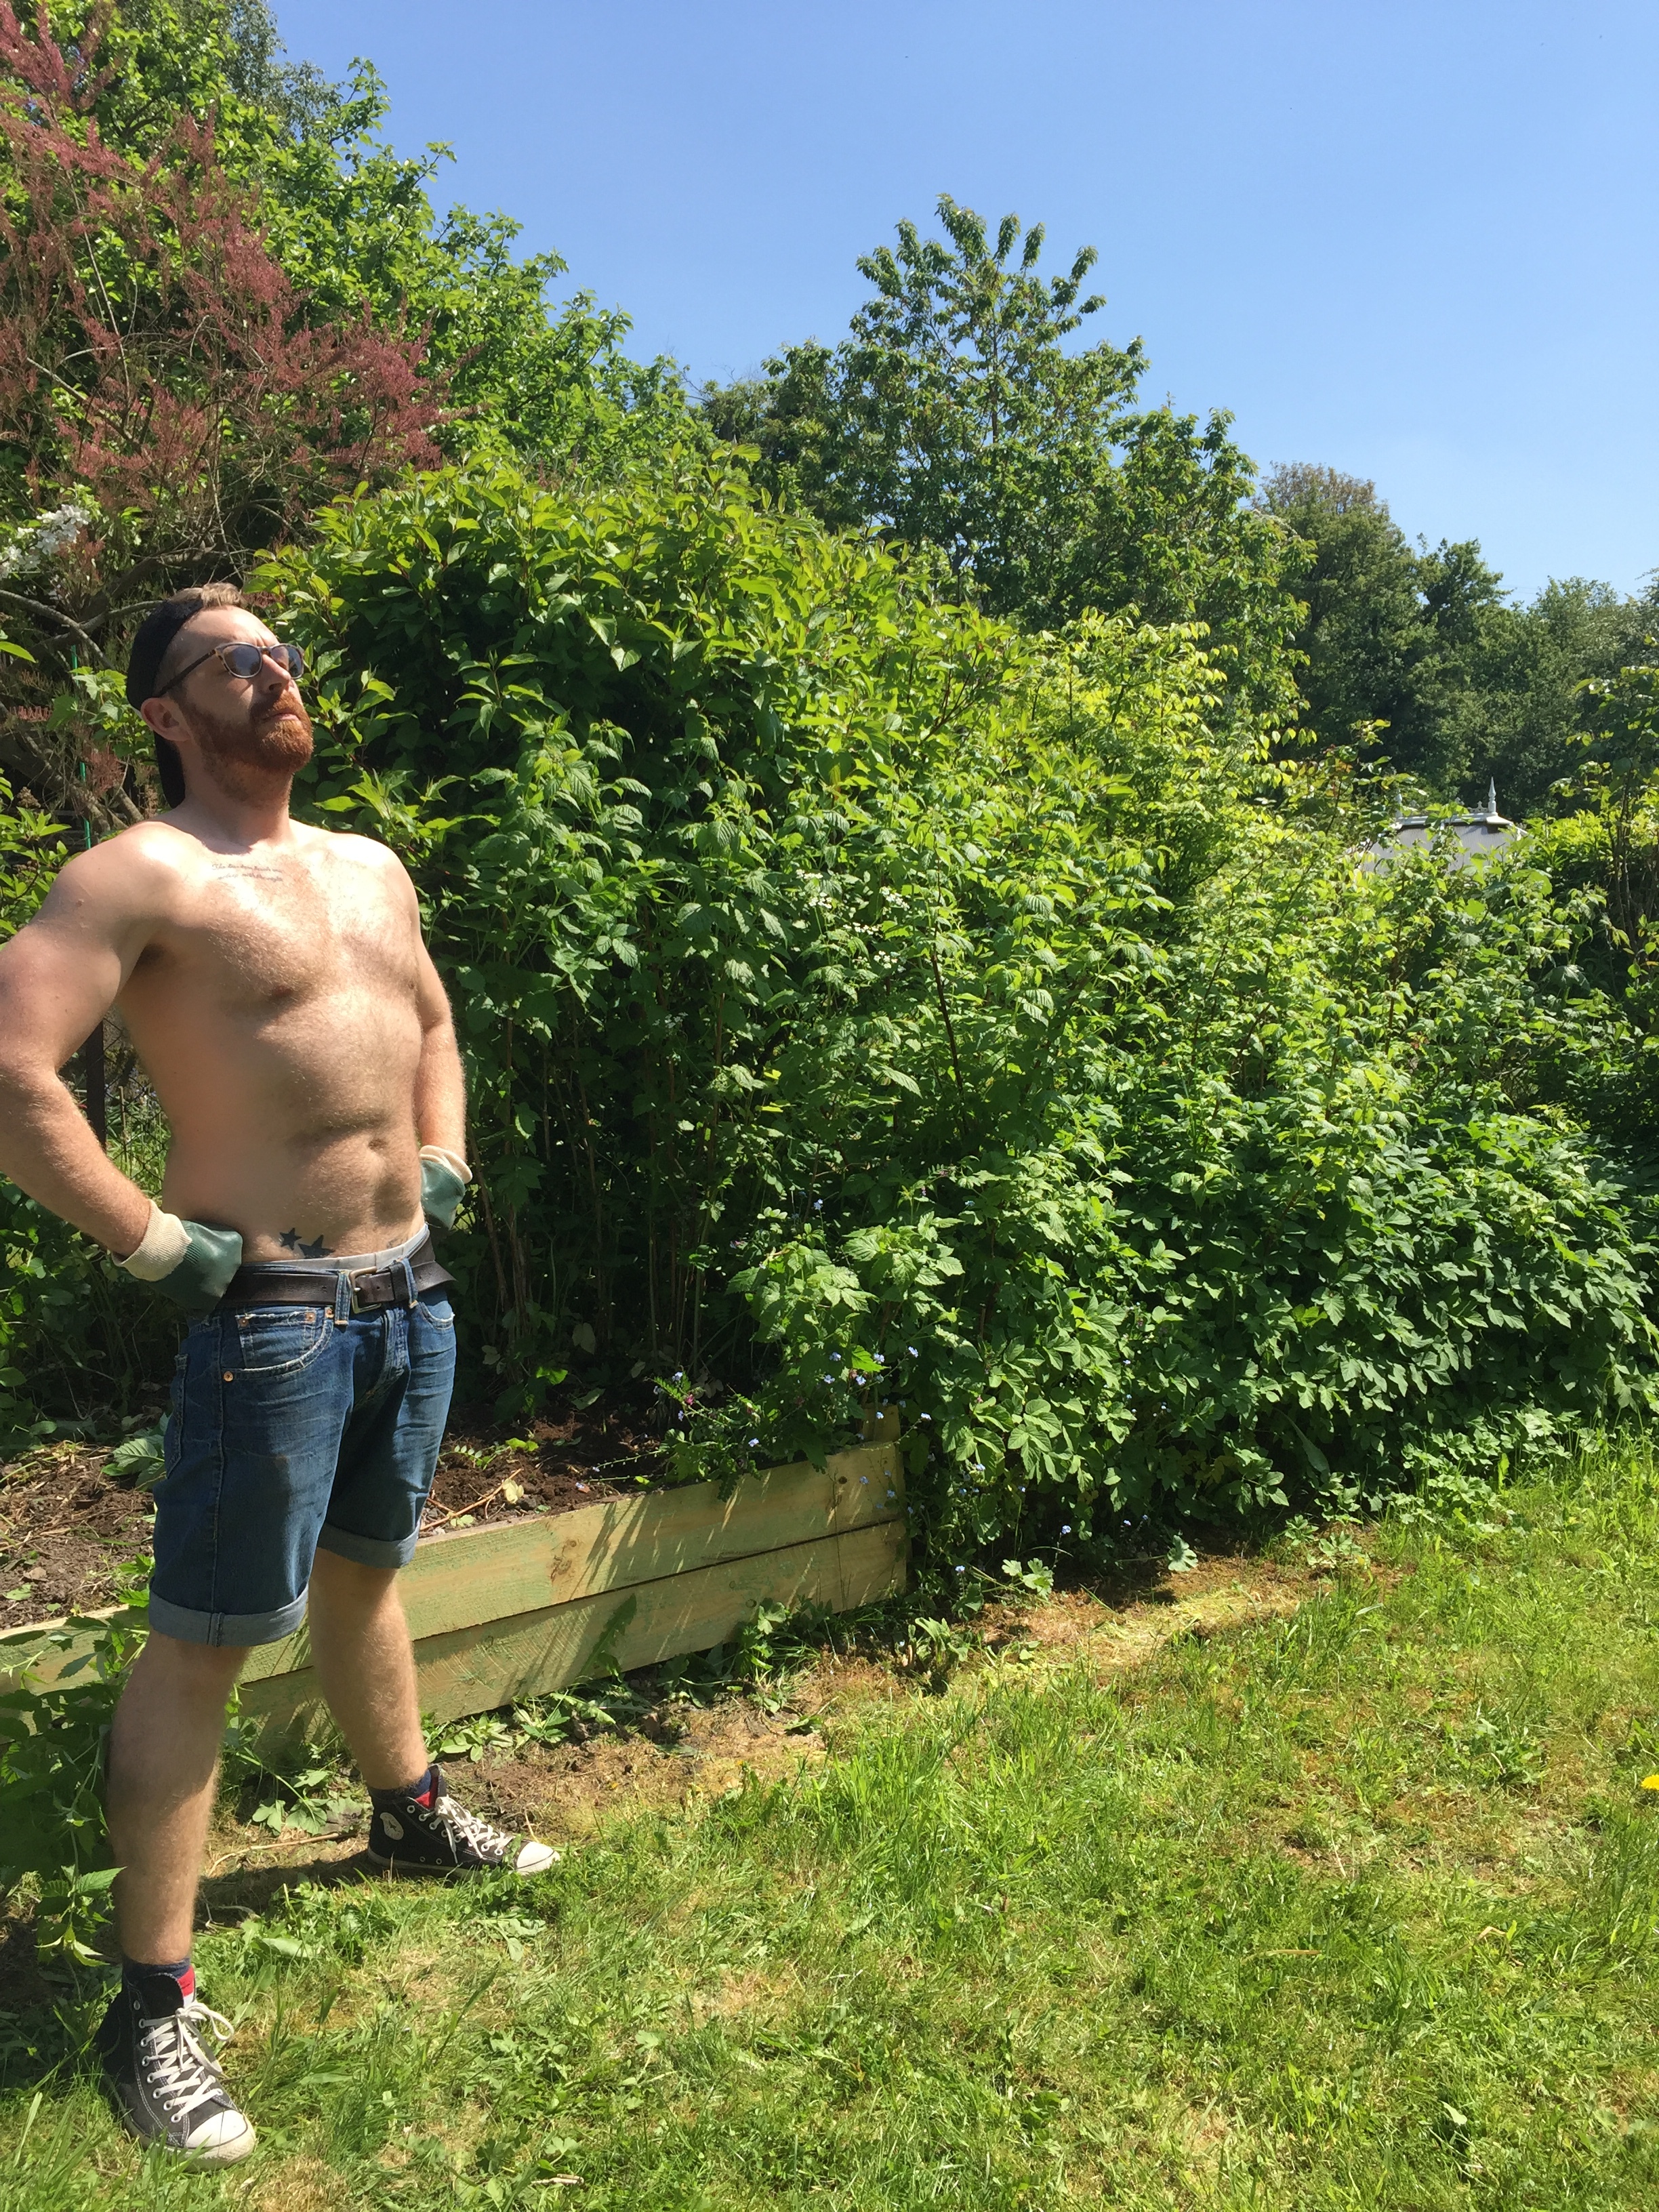
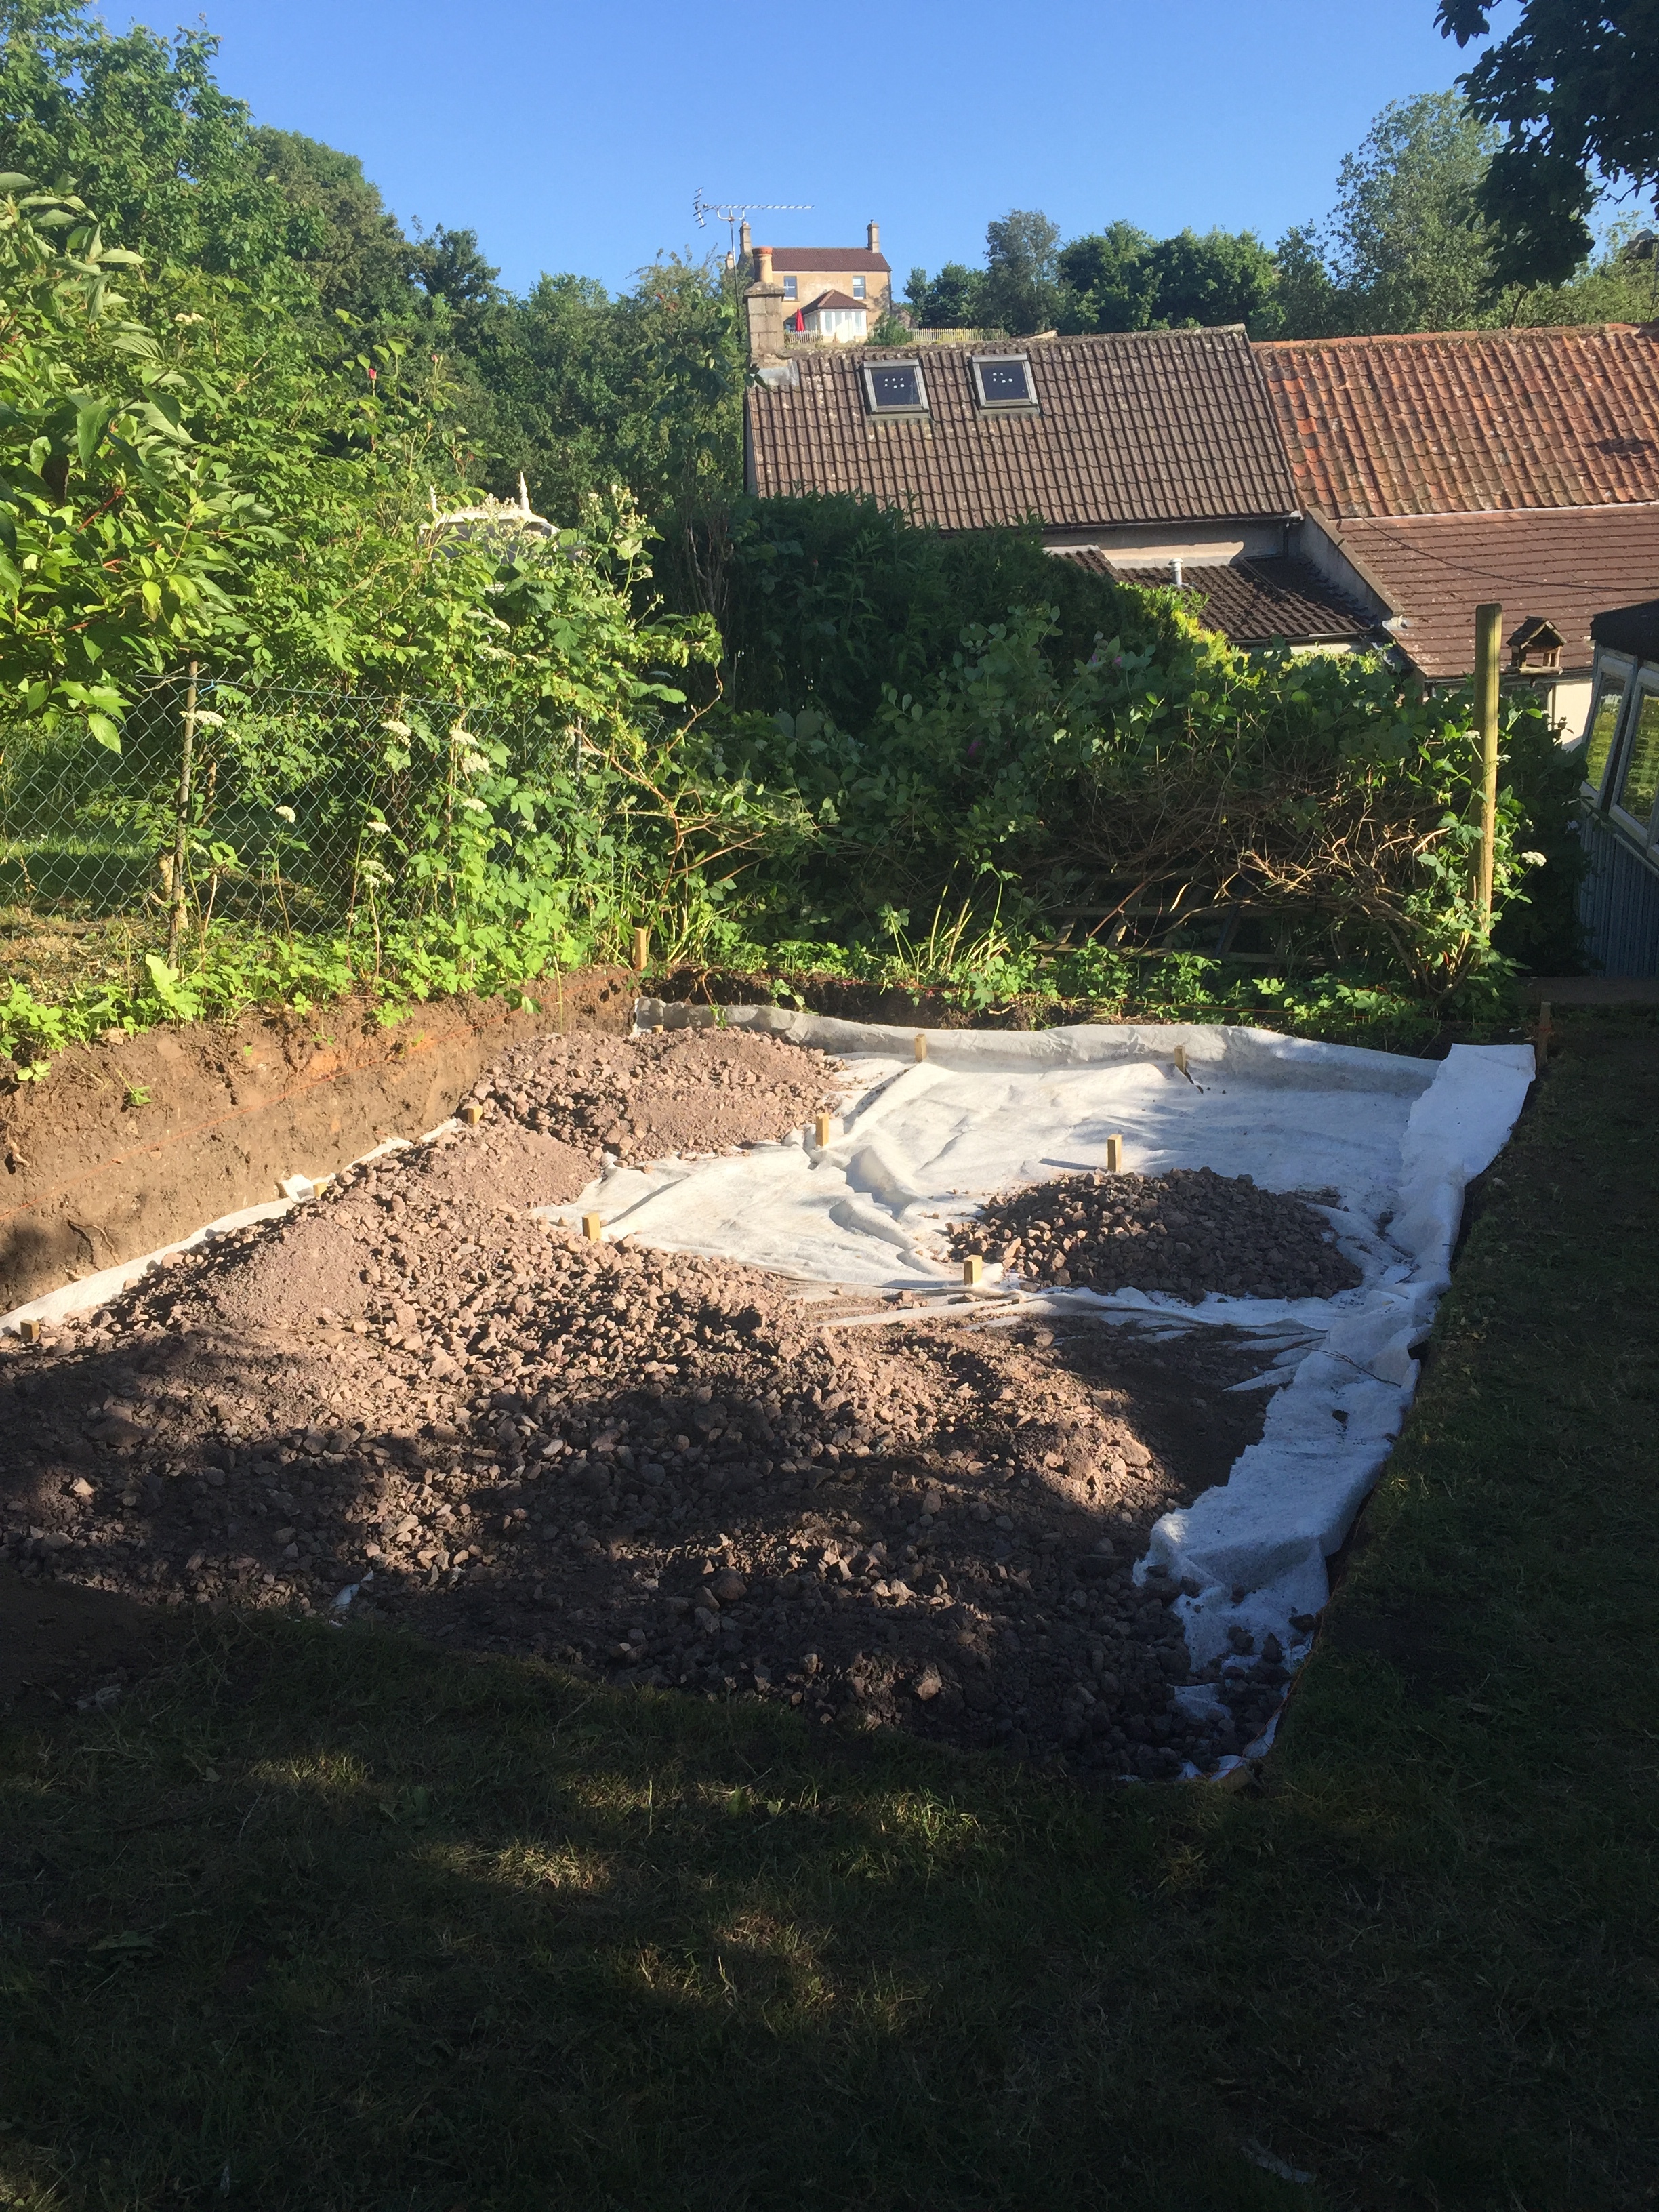
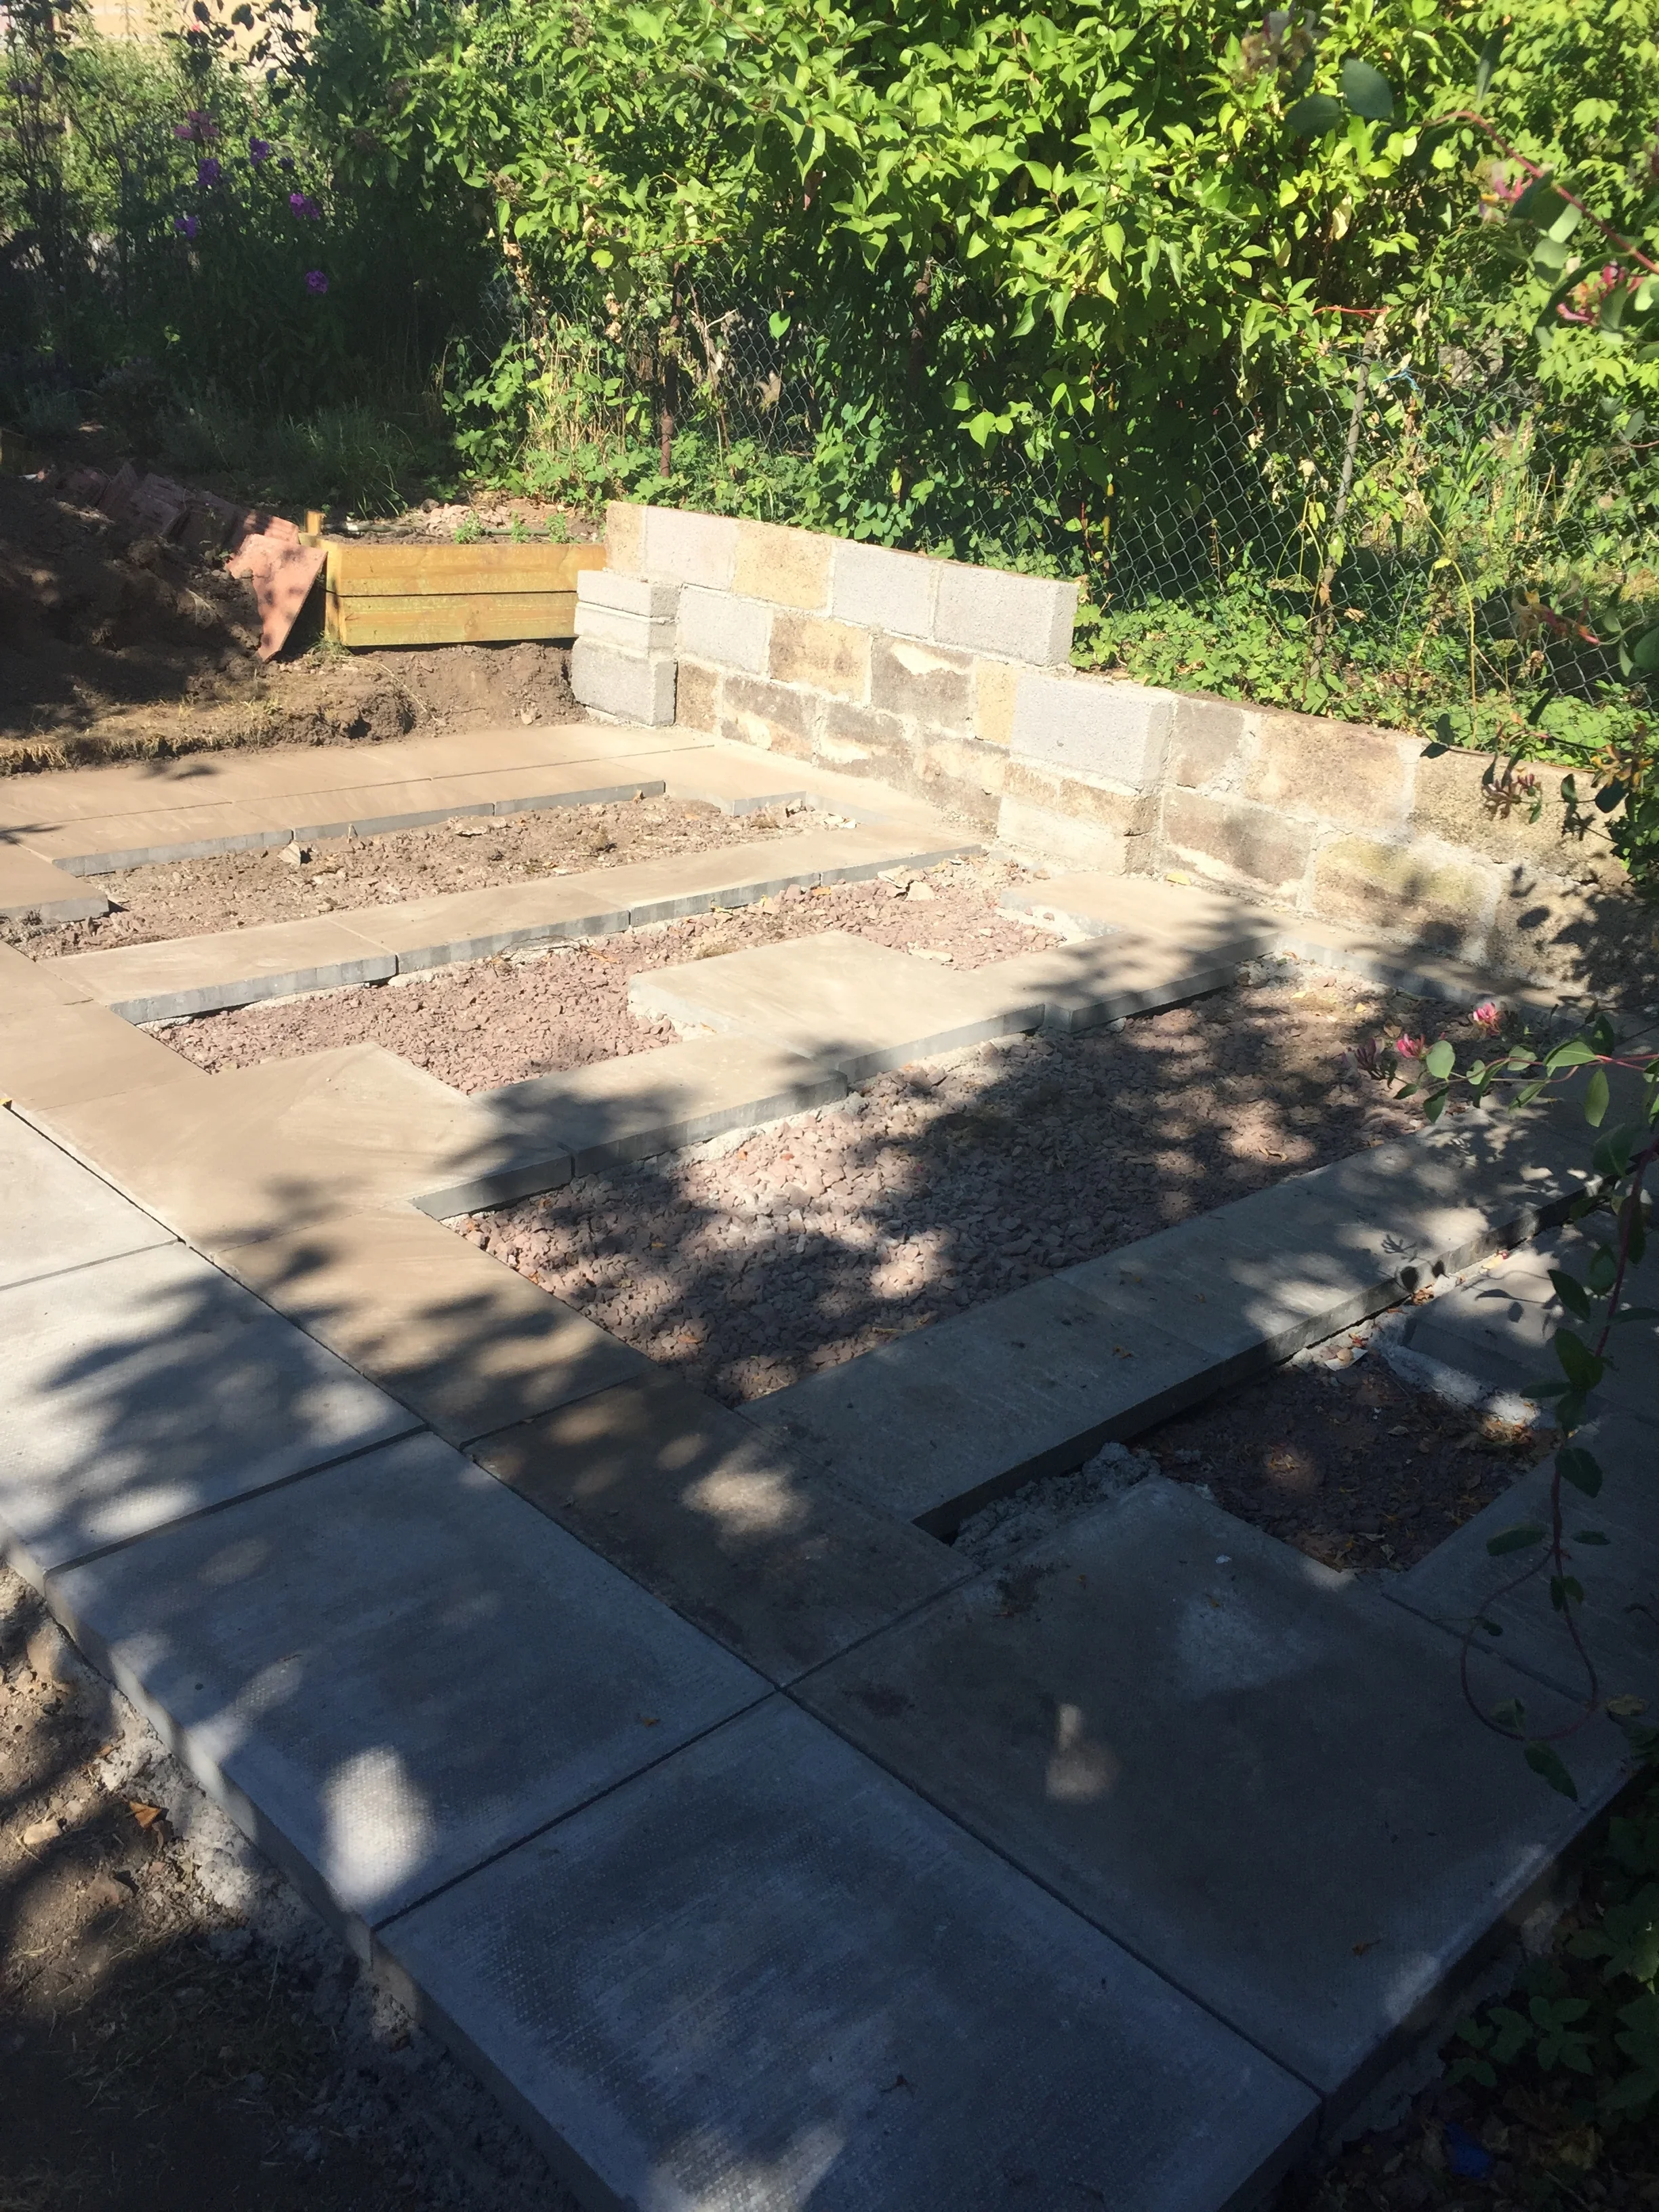
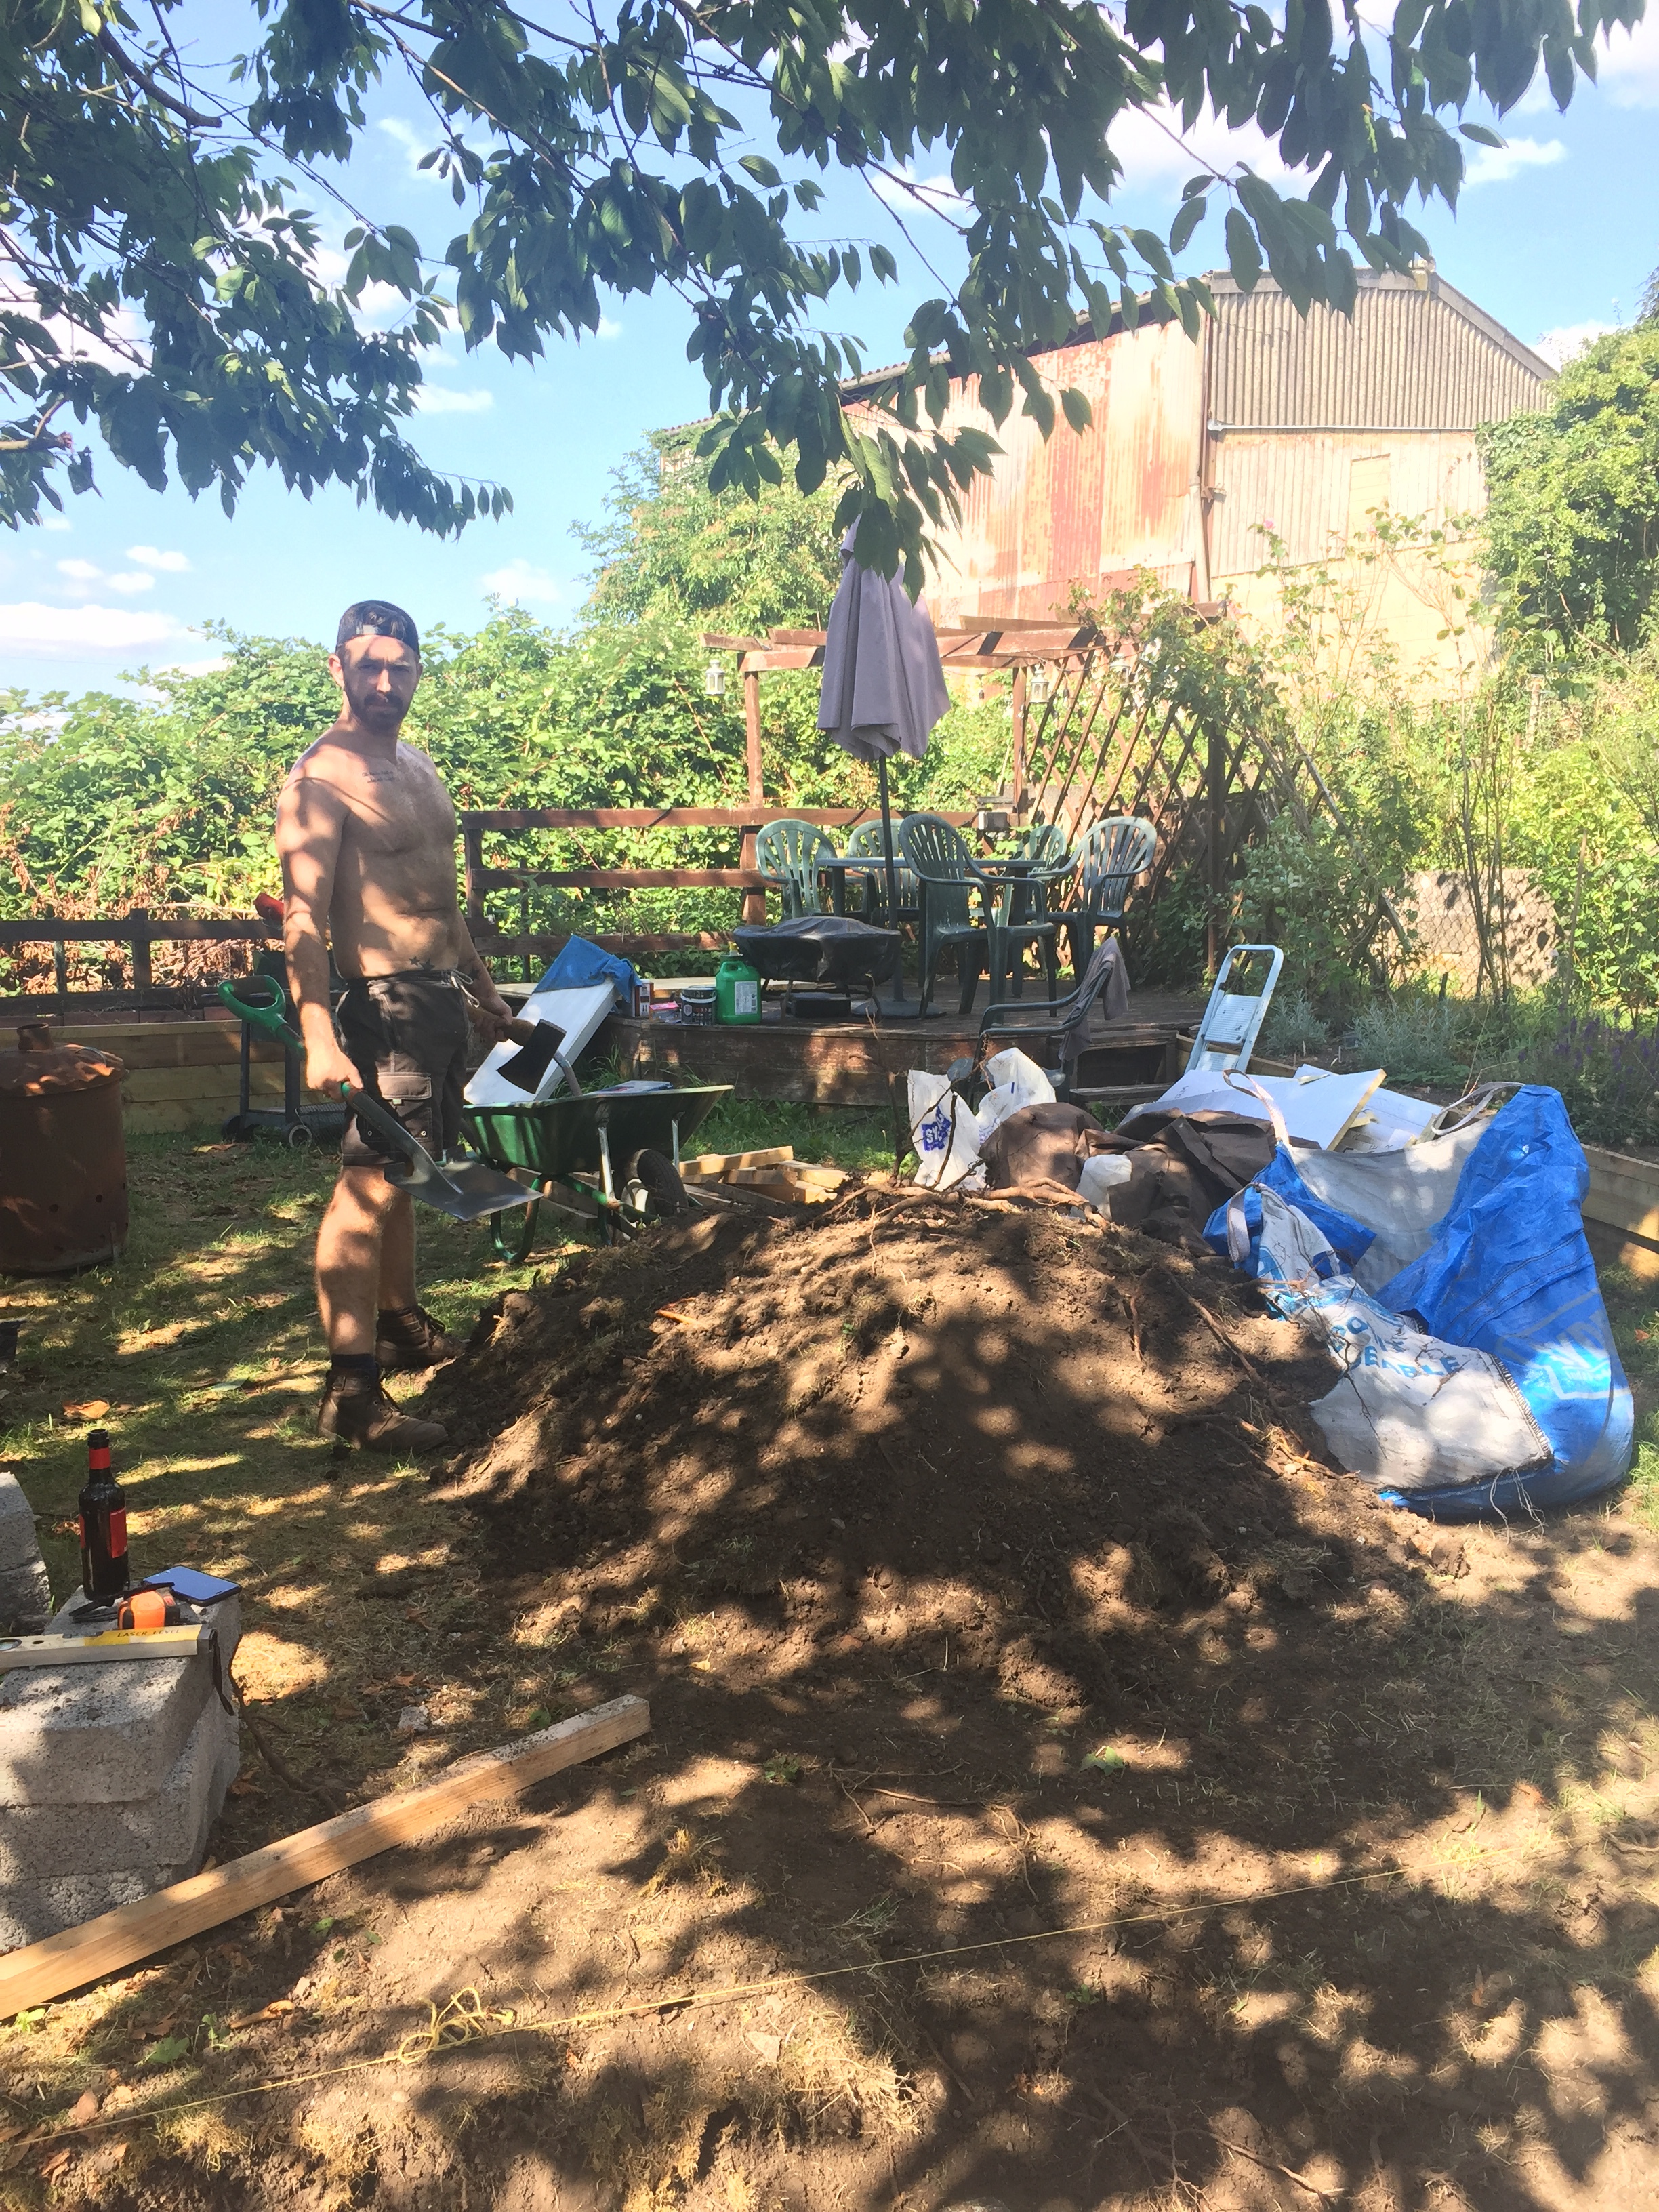
Most standard log cabins come under 2 meters tall and in the UK are defined as temporary structures so they do not need planning permission (make sure you double check the planning regulations in your location) but they do still need a solid foundation. In order to keep costs down we did a lot of the ground work ourselves - this part of the build was the most labour intensive and probably the most stressful. We live in a mid terrace cottage with no rear access so you can imagine some of the challenges we faced. I had 4 quotes for the groundwork’s ranging from £1,000- £4,000. I got the impression the £4k quote was only because it was such a horrible job the company just didn’t want to do it. Its important when planning to get your head around the fact that foundations will need to be an extra 18inches all the way round the footprint of the cabin. This is so the roof will not over-hang a boundary, it also ensures access for installation and maintenance. It is super important the ground for the footings is completely flat and level. There was no way to get a mini digger into our garden so it took three very strong chaps (one of which was my ever suffering husband) three days to dig out four inches of topsoil. They did it all by hand using shovels and wheel barrows in the hottest summer we’ve had on record - we highly underestimated how much soil bulks up - three skip loads later those guys deserved a medal! Our neighbours were extremely kind and allowed us to take the soil out through their garden to the skip we hired, we put planks down to ensure minimal impact on their lawn.
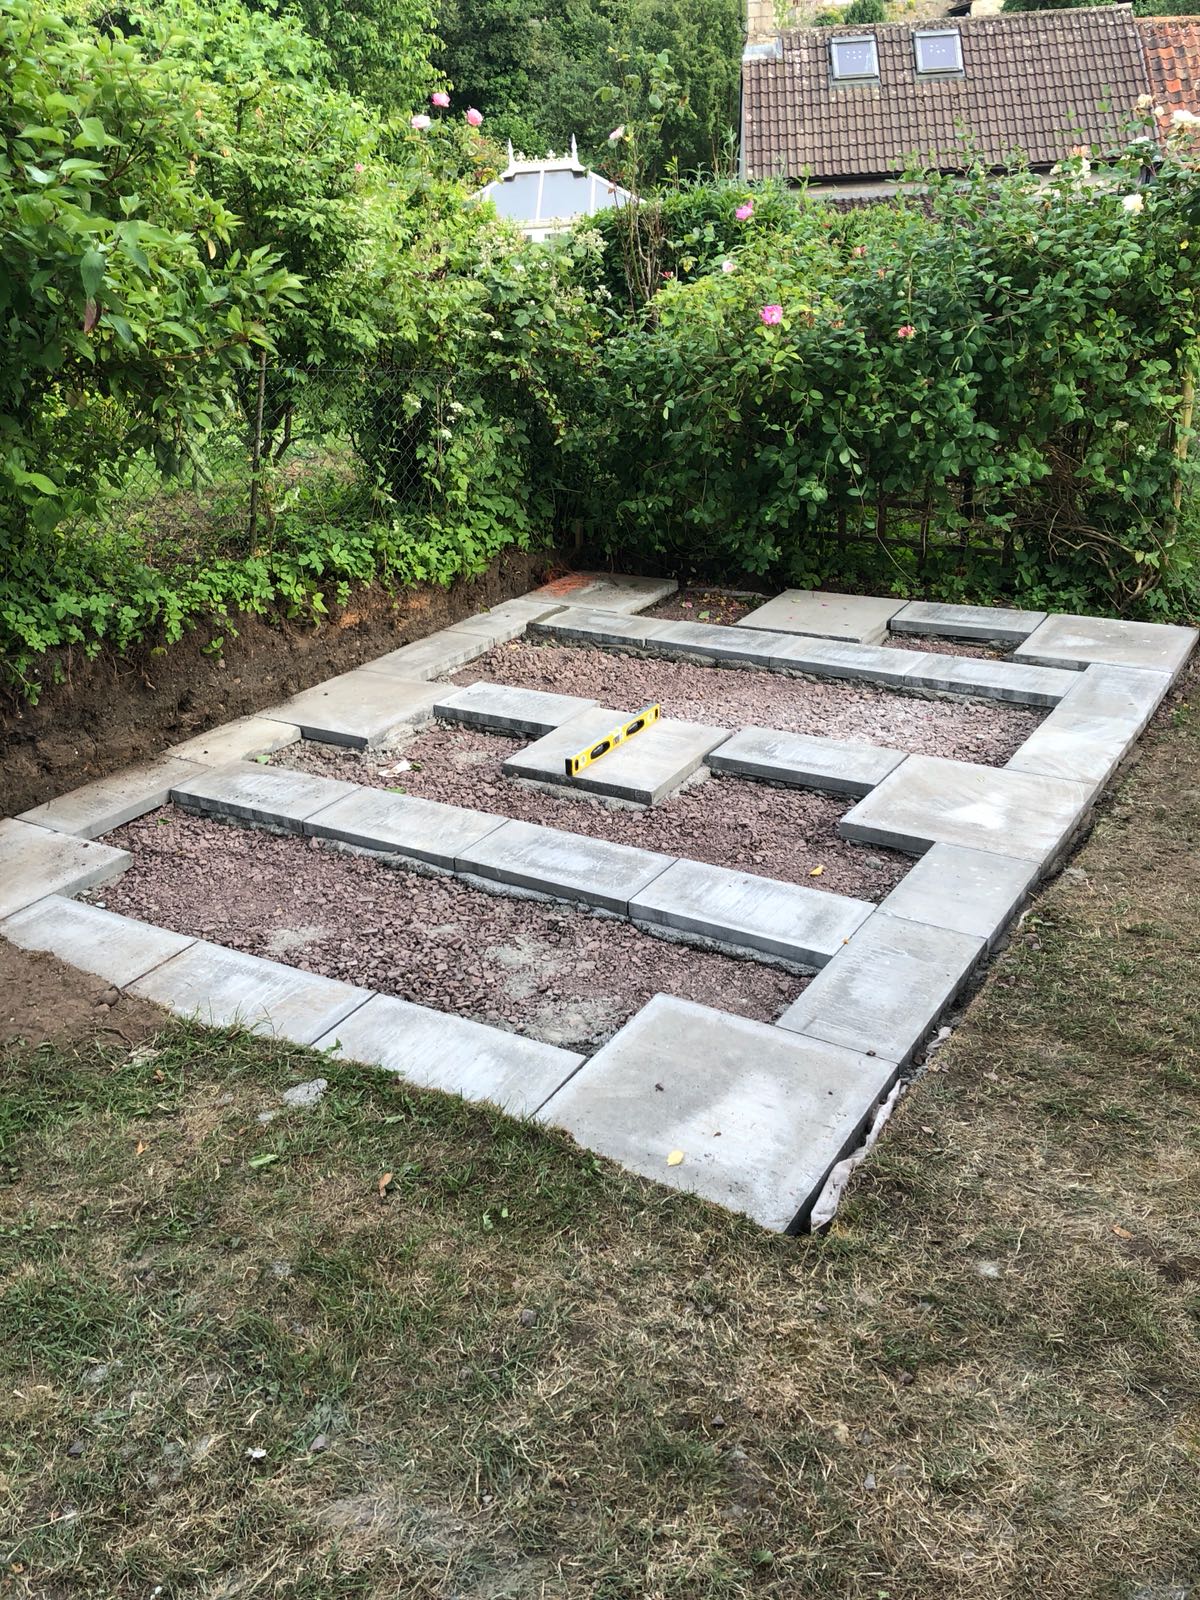
Once the ground was perfectly level, on top of a weed proof membrane we laid a 4 inch thick layer of scalping (or hardcore, basically stone chippings and clay - not the pottery kind) which were compacted down with a petrol powered whacker plate. On top of this you can either lay breeze blocks, thick paving slabs or cement. We opted for the paving slabs which are cemented in place. The spacing of the slabs depends on the requirements of the individual cabin brand - double check this with them. Ours needed to be a maximum of 70cm apart. The cement needed to cure for at least 3 days before the studio could be built on top.

The cabin was delivered on a huge lorry. Our village is very small and the roads are narrow and winding. I had to knock on lots of neighbours doors and politely ask them to move their cars on the morning of the delivery to ensure the lorry could get through - it was extremely tight but a talented driver managed it.

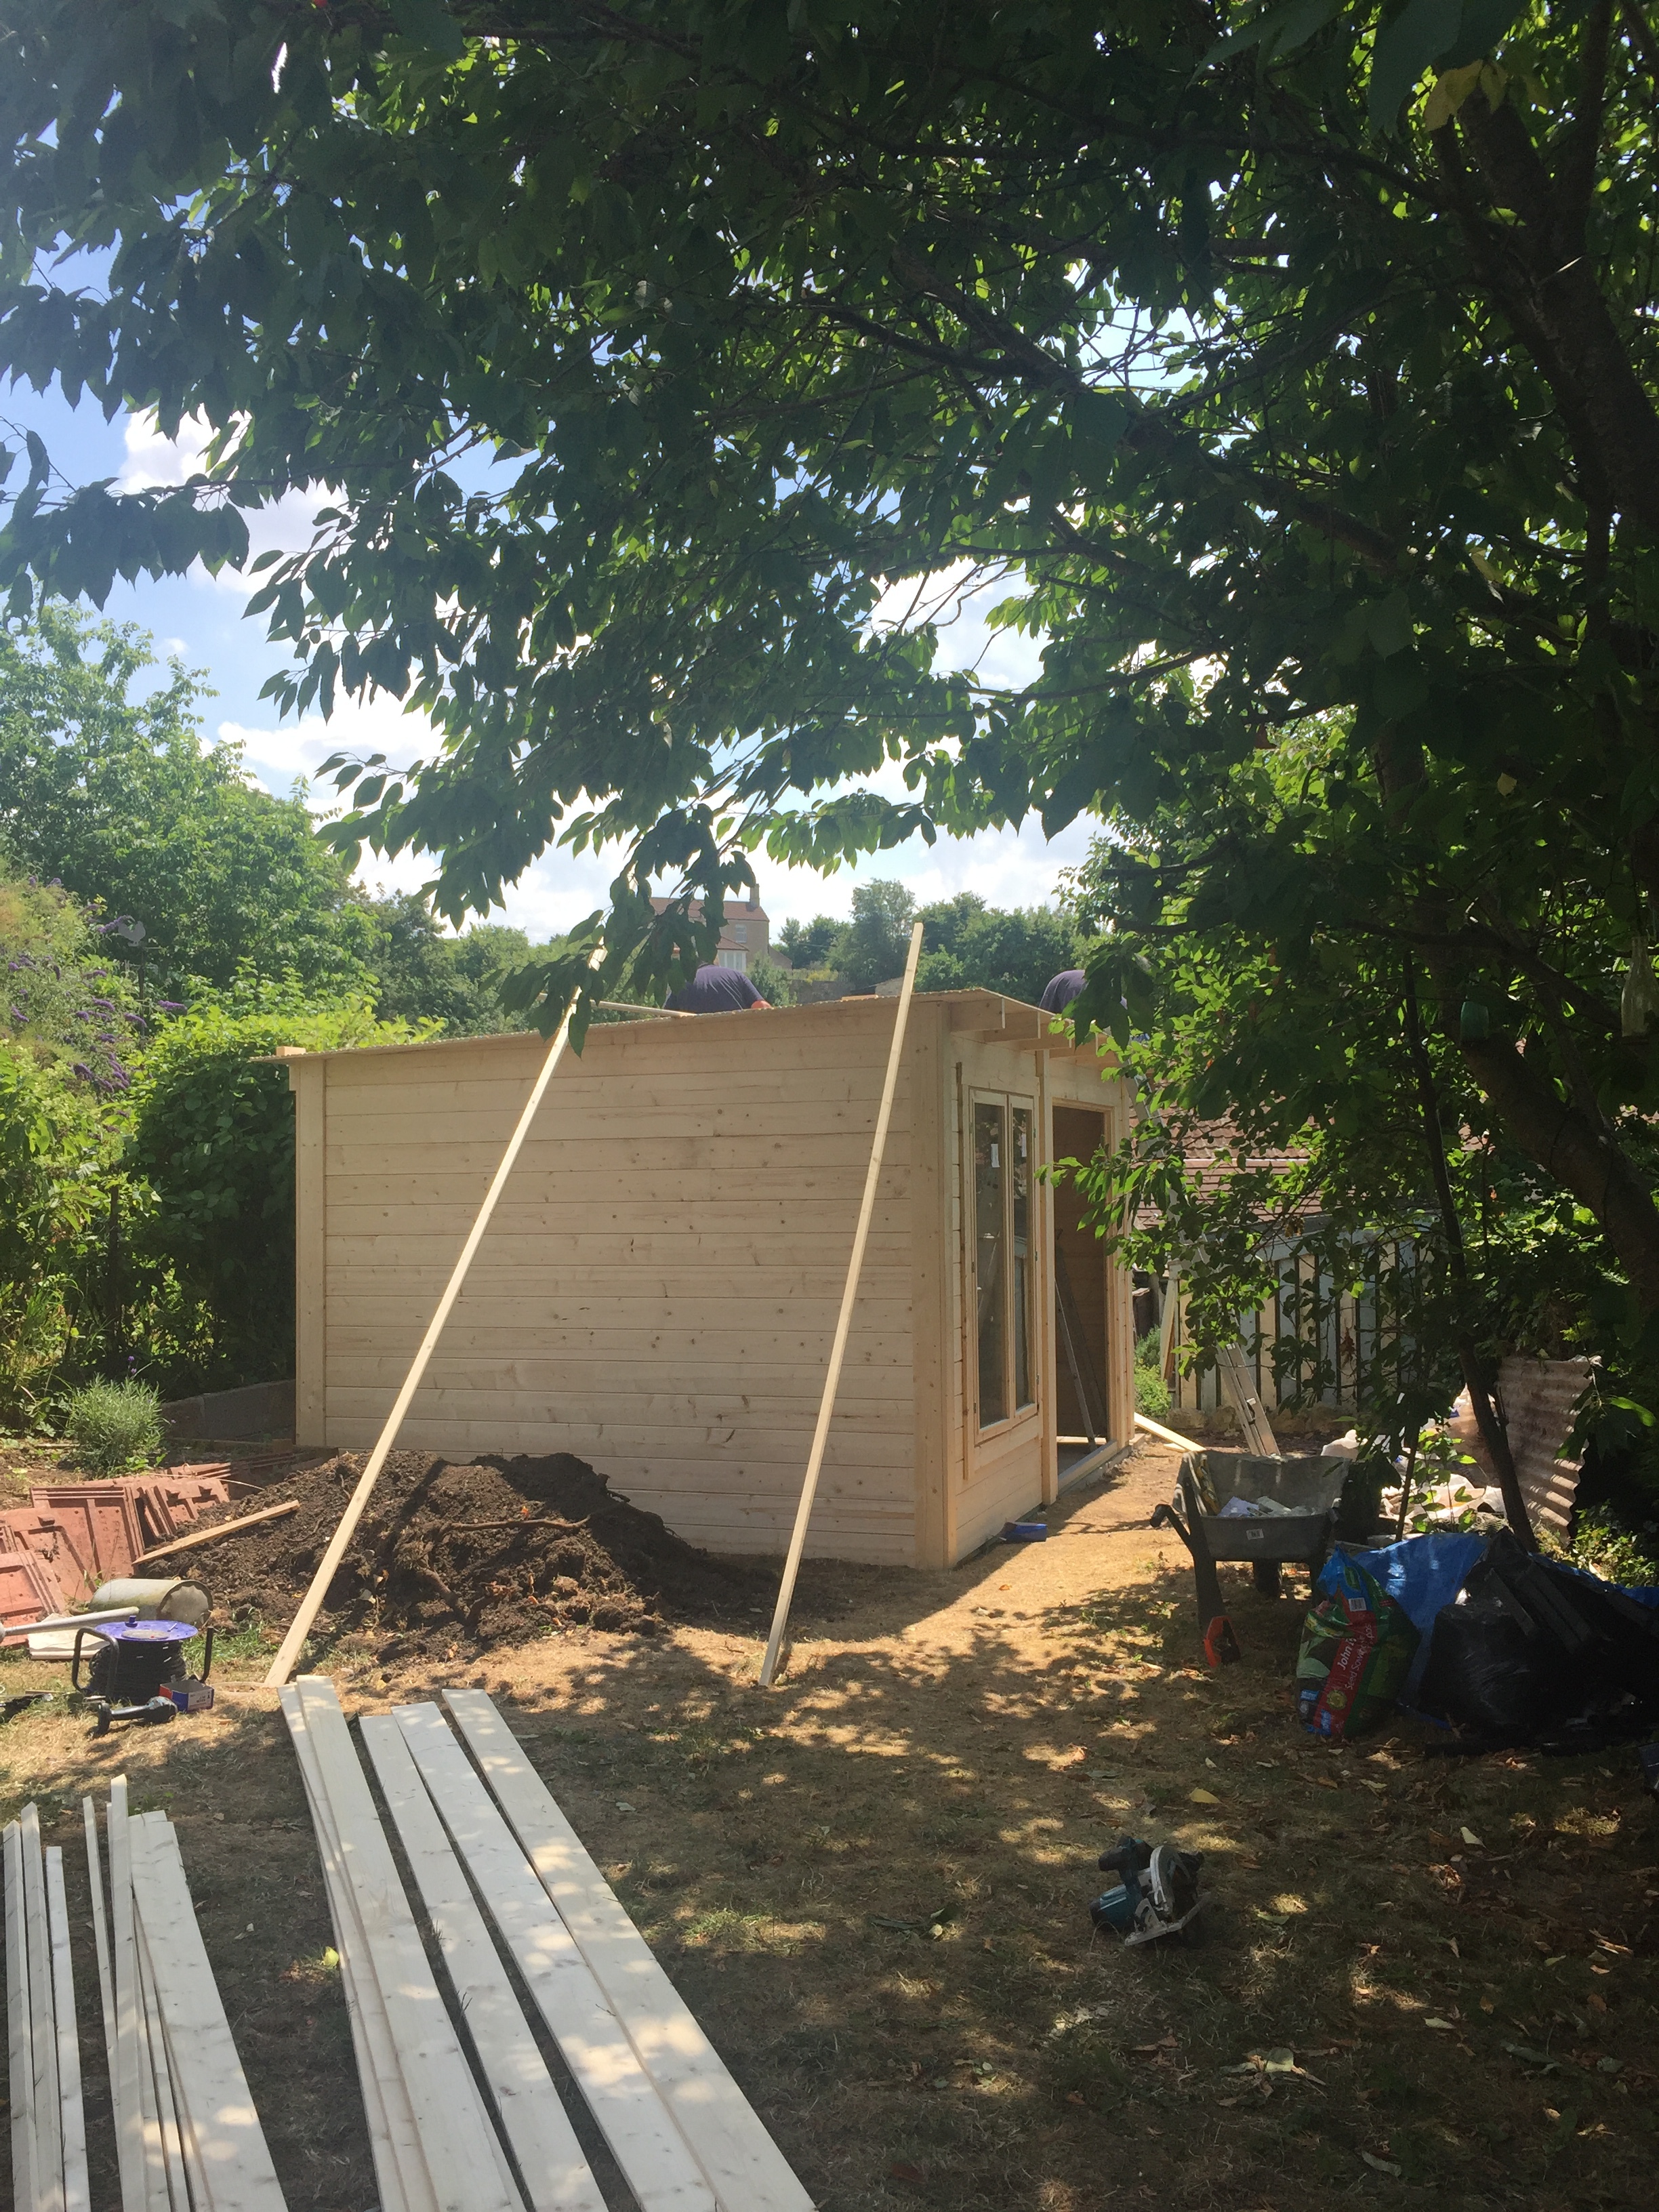
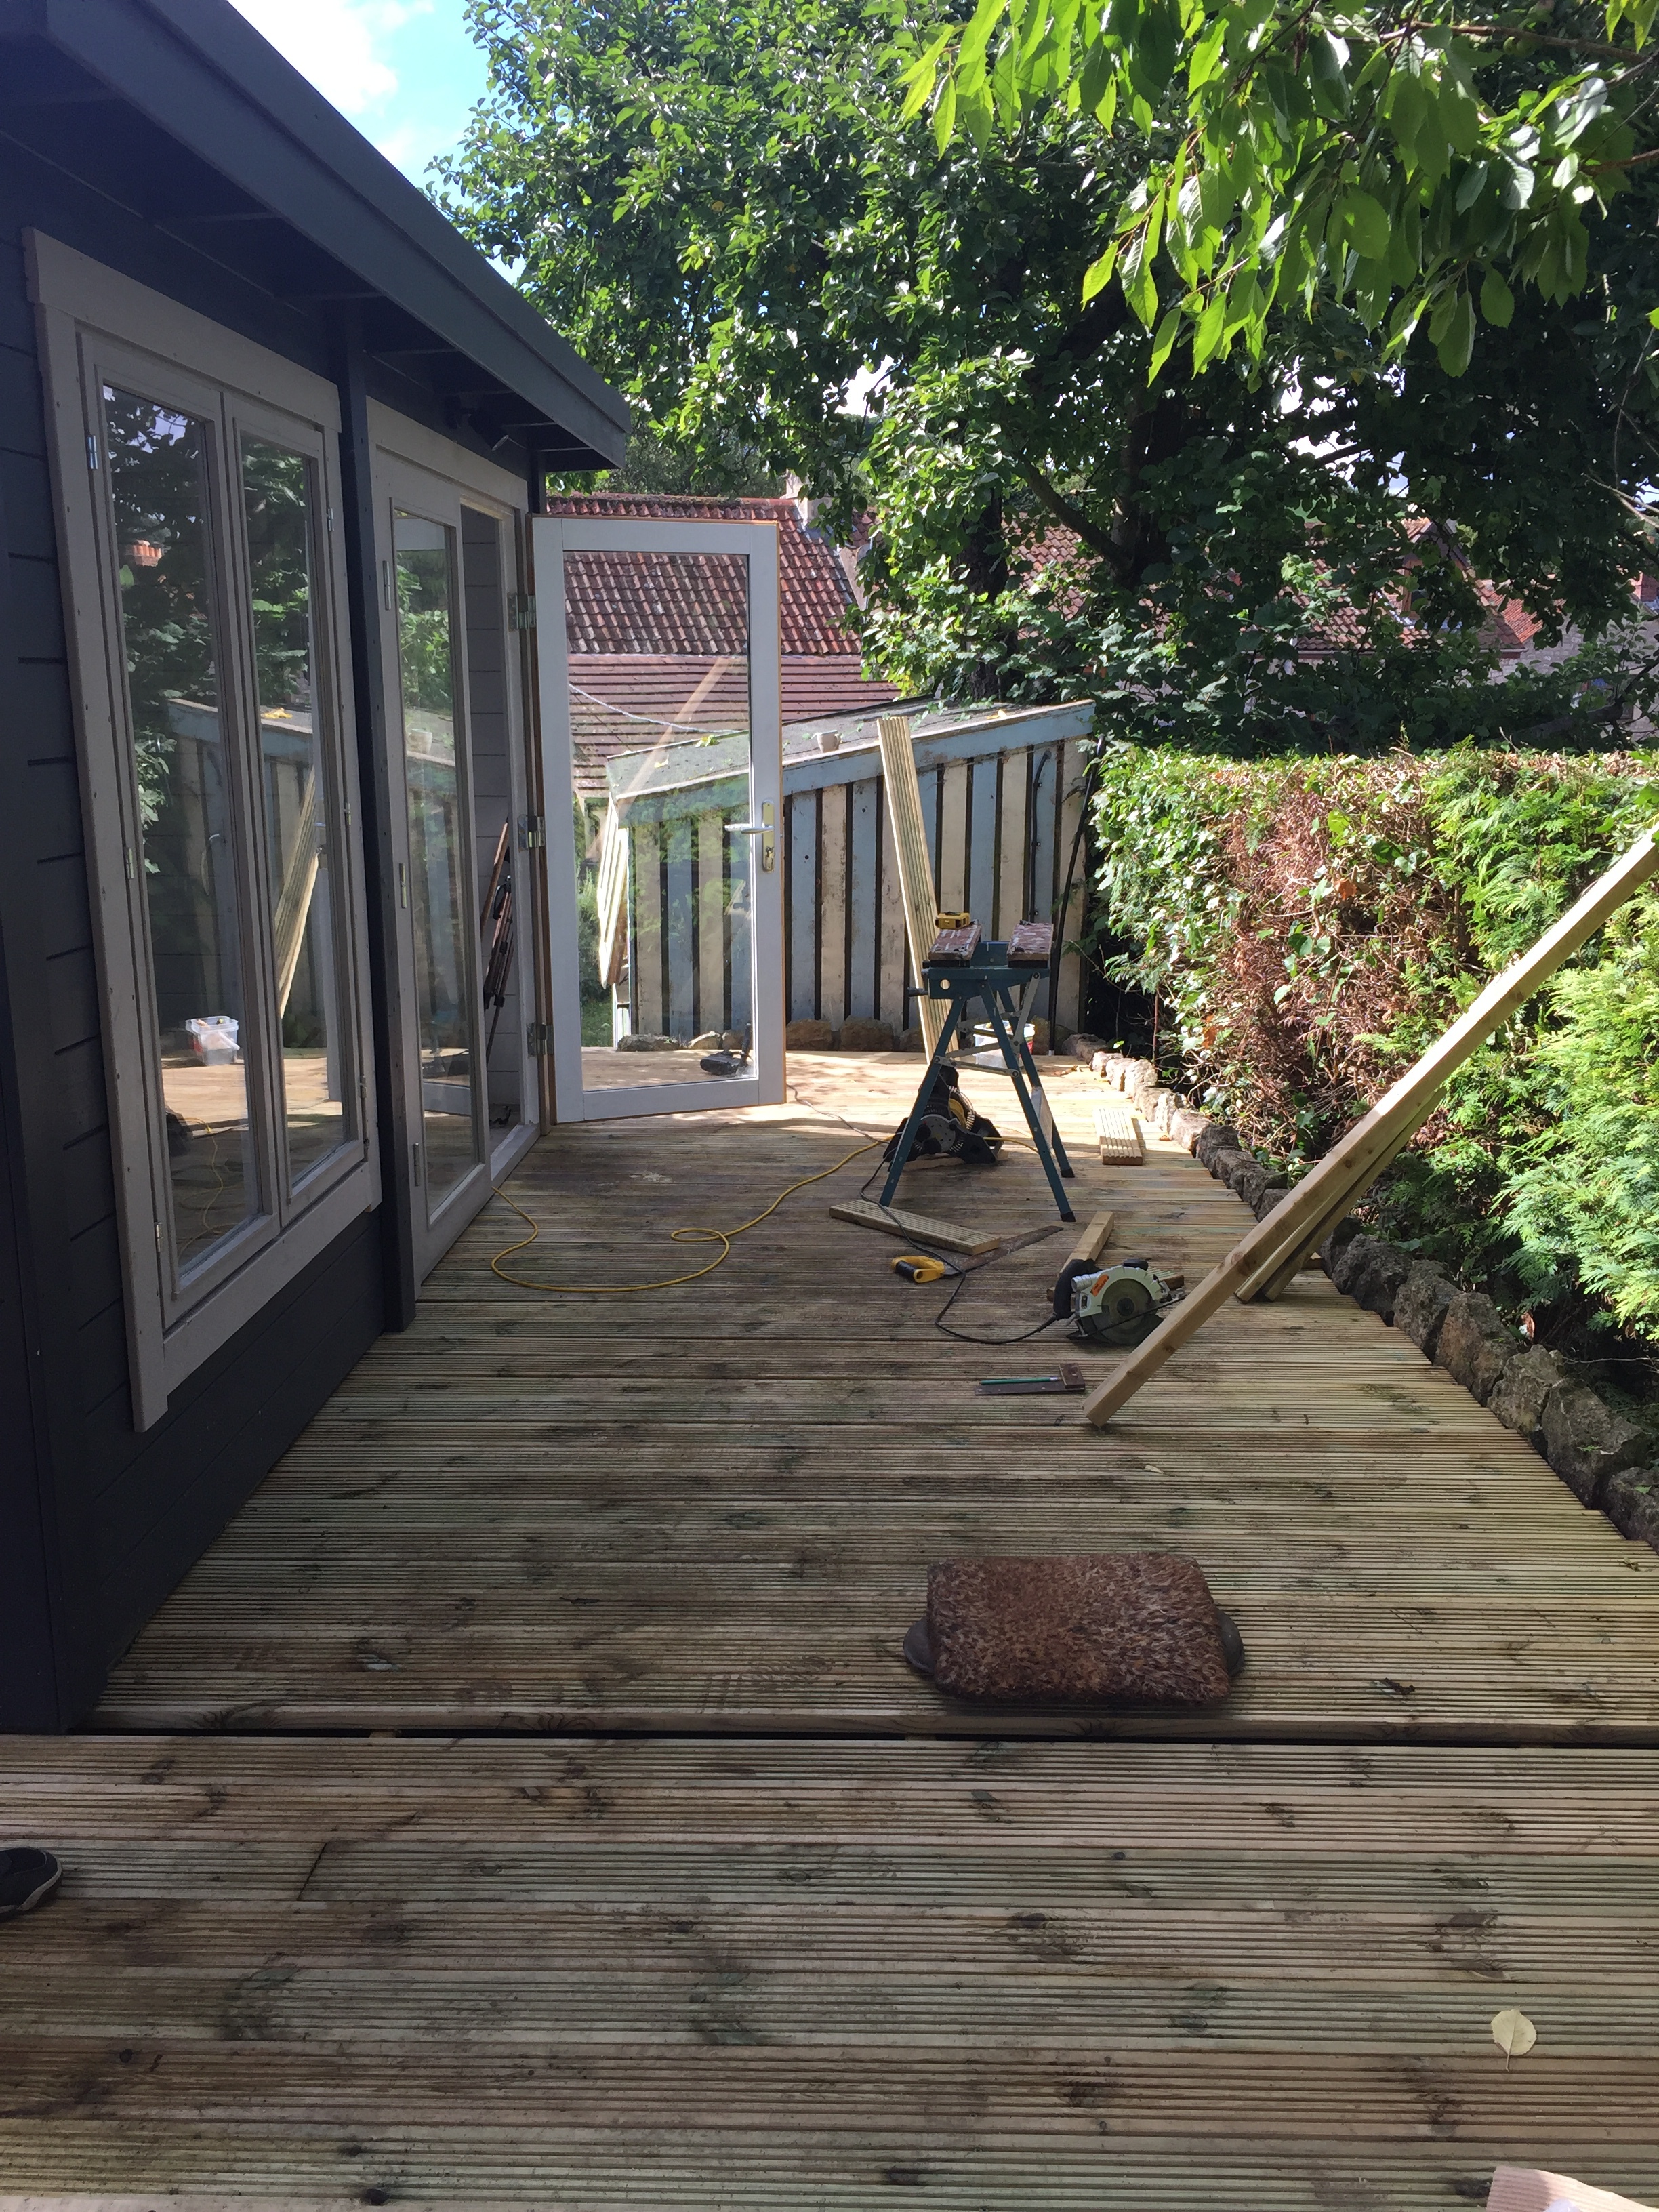
My husband and I talked about building the studio ourselves to save budget. The cabin we opted for did not come in ready made panels as you might expect , it came in pieces - individual planks of wood placed on our driveway. (Myself, my husband and the two chaps from the installation company hand-balled it through our neighbours garden into ours as the lengths of wood were too long to go through our higgledy- piggledy cottage.) Thomas works full time, I still had pots to make and we also value our marriage quite highly so after some deliberation we decided to pay for a professional installation team to build the studio. It was the best decision for us. The two chaps from Charltons installation team were super quick and efficient, the studio literally flew up in two days. If we built it ourselves I reckon it would have taken us months, and a lot of falling out (imagine that Ikea set of drawers you once tried to put together with your other half? - yeah that times a gazillion!) Getting the pros in also meant that the cabin came with a 2 year warranty so if anything went wrong, leaky roof for example we could call on them for assistance. There was still a lot of work left for us to do, including treating the wood with preserver, exterior and interior painting and building the decking (which my wonderful 64 year old dad planned out and helped us construct.) And cue those moments where you think you’ve finished a job (like digging all the footings) and then remember there was another bit (like you wanted decking - substantial decking that needs a footing - all the way around) - in those moments tempers can fray pretty quickly!
Plumbing and electrics
I wanted running water for my studio which means we need to dig a trench to carry a water pipe from the house. I have a cold water feed only. We insulated the pipe with standard pipe lagging before digging it down by 6 inches (as recommended by the Wessex Water website). We haven’t seen a frost yet so it will be interesting to find out if this is enough to stop freezing pipes during the winter. We did the digging ourselves, I bought all the piping, insulation, connectors, tap etc so just needed the plumber to connect it up at each end. I even made my own sink to save on budget. We opted for a soak-away (French drain) which means we did not need to connect into the sewerage. I made a sink trap which captures any clay and glaze particles before the water drains into a hole in the ground - I will talk about this in more detail in a future post.
I am very lucky to have a handy father who trained as an electrician so was able to offer advice. I also have a very good friend Luca, who happens to be a fantastic electrical engineer from M&W Electrical Services - Luca did me a very good deal on getting my shed all wired up. If you are putting in a kiln you will need to discuss the requirements in detail with your electrician as they often need a separate breaker and will need to be hard wired in (my budget only includes lighting and plug sockets - I already had Derek wired in last year so this hasn’t been included in the budget).
My little beach hut shed is my glazing and kiln room. Having my two kilns in a separate building is great because it means I can still be working away in my main studio whilst they’re firing - I couldn’t do this before- it would get too hot and the fumes are stinky.


Paint
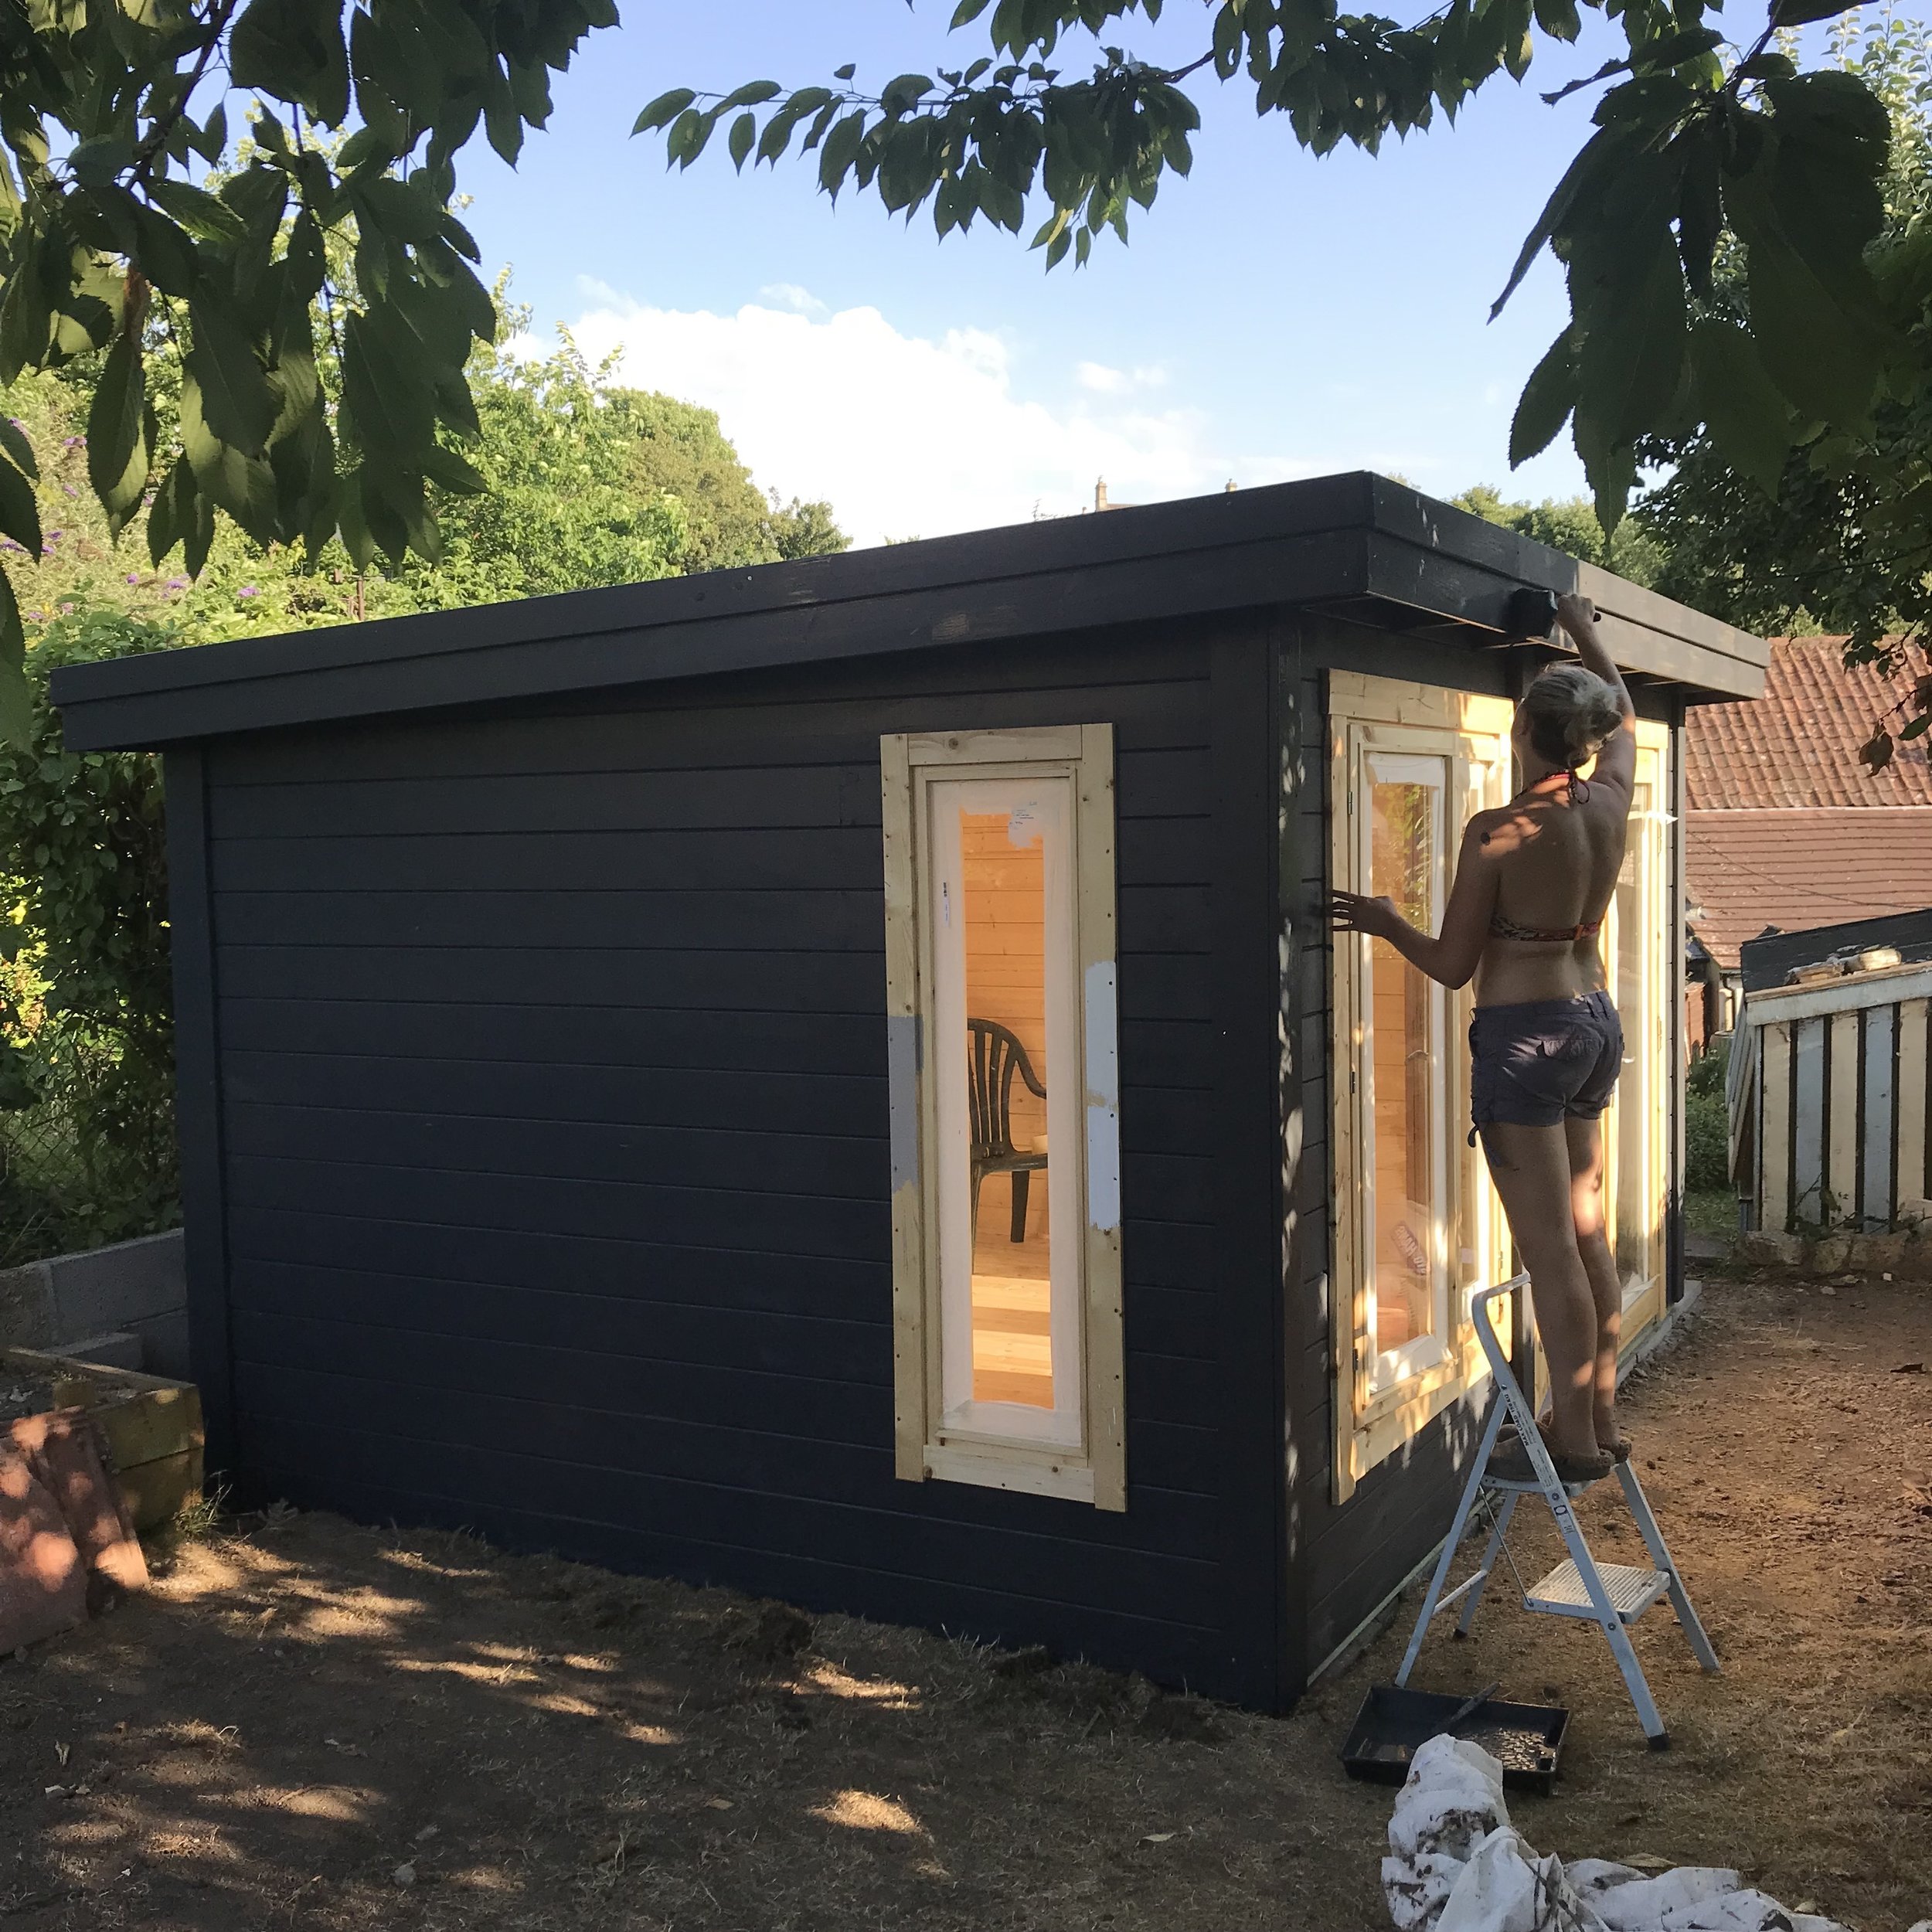
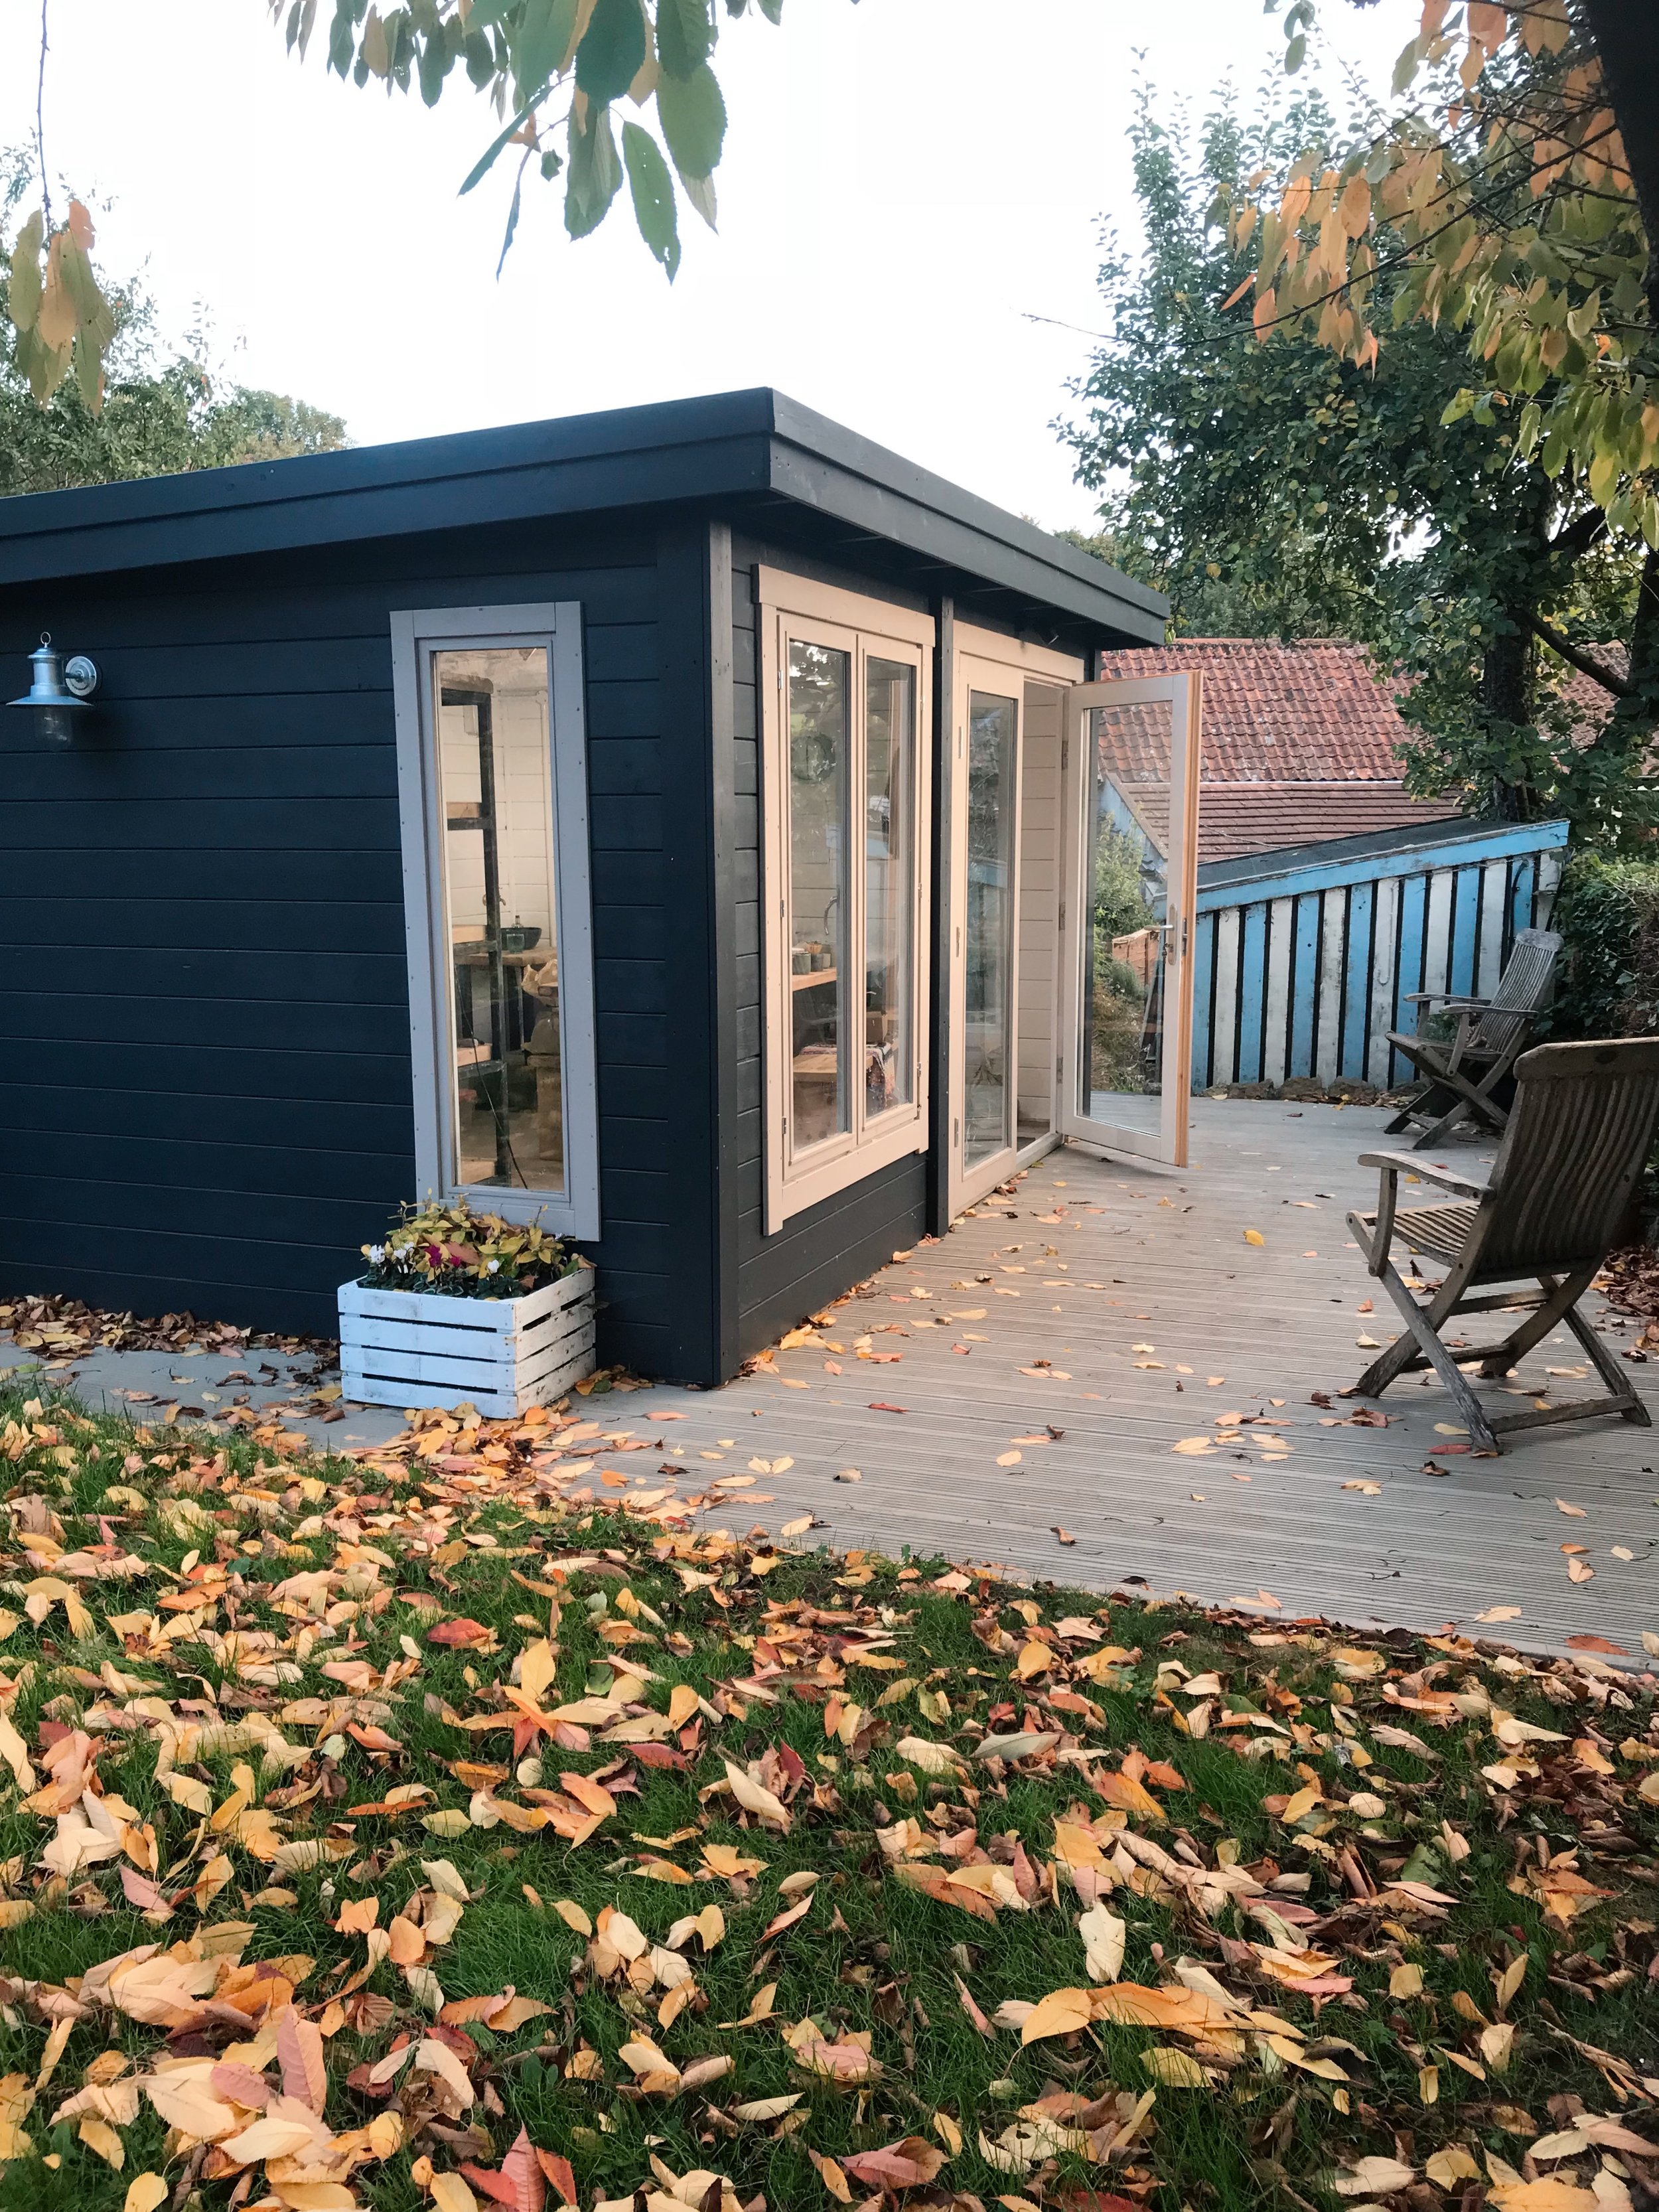
We protected the wooden cabin using Cuprinol Wood Preserver (clear), three coats. For the exterior colour we chose Cuprinol Garden Shades in Urban Slate with Muted Clay (very apt) accenting the doors and windows. We used Cuprinol Anti-slip Decking Stain in City Stone on the decking and Ronseal Decking Paint in Charcoal on the other decking areas and fencing. On the interior of the studio we primed the wood first and then used a white bathroom paint (2 coats) which means it it wipeable and easily cleaned.

Flora approval. I chose a vinyl floor - hardy and easy to clean . Modern vinyl is fantastic and you can get very realistic wood imitation. This flooring came from Radstock Carpets.

Planning the size and position of furniture by plotting out the space using paper.

Said good bye to our lawn! Don’t worry, after reseeding it actually grew back better than it was before.
Budget
I had about £6K in savings which I used to pay the tradesmen and businesses who needed payment up front. Then, I am not ashamed to tell you, I put the rest on a credit card - a 30 months interest free credit card which I am aiming to pay off way before interest kicks in. You’ll notice I haven’t included furniture or ANY equipment in here - that’s because apart from furniture I already had most of it. I would say if you are starting from scratch with nothing - no wheel, no work bench, no kiln, no tools of any kind - you’d be looking at least another £5k to kit yourself out - remember to account for this within your own plans.

My budget breakdown
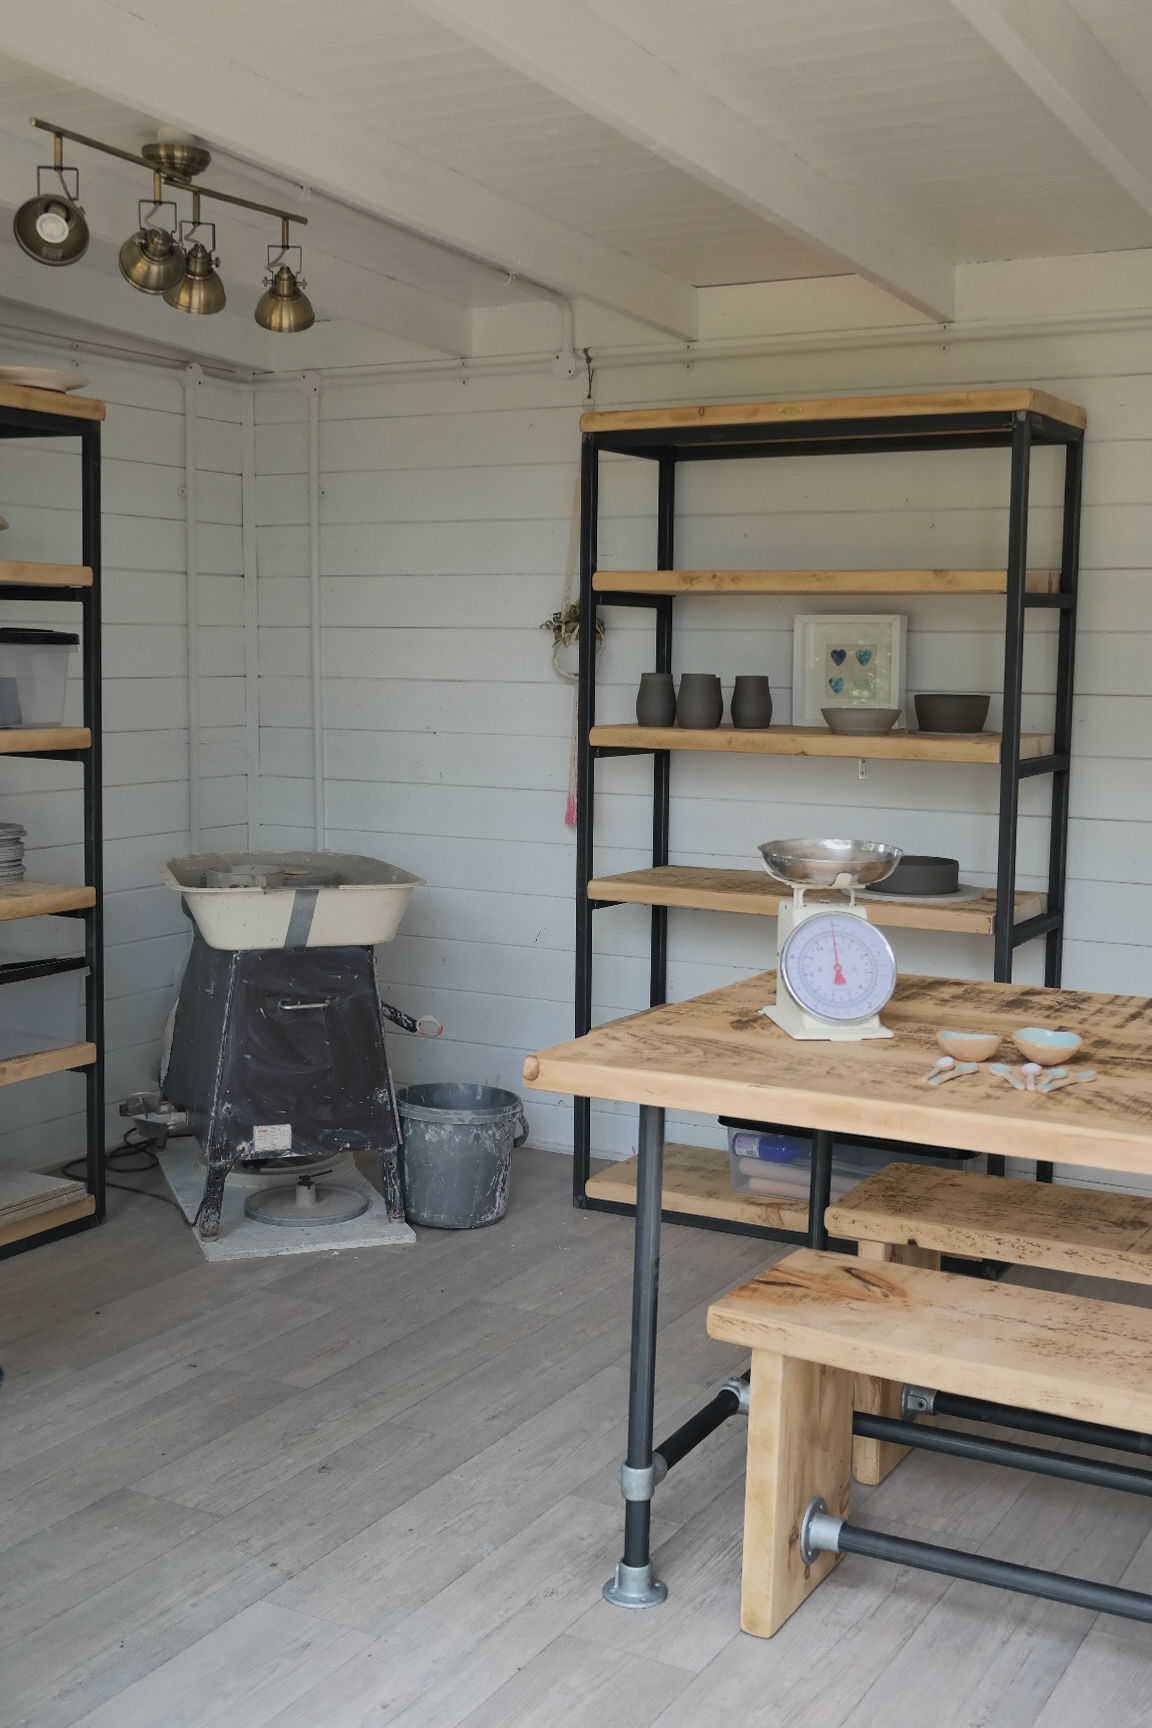
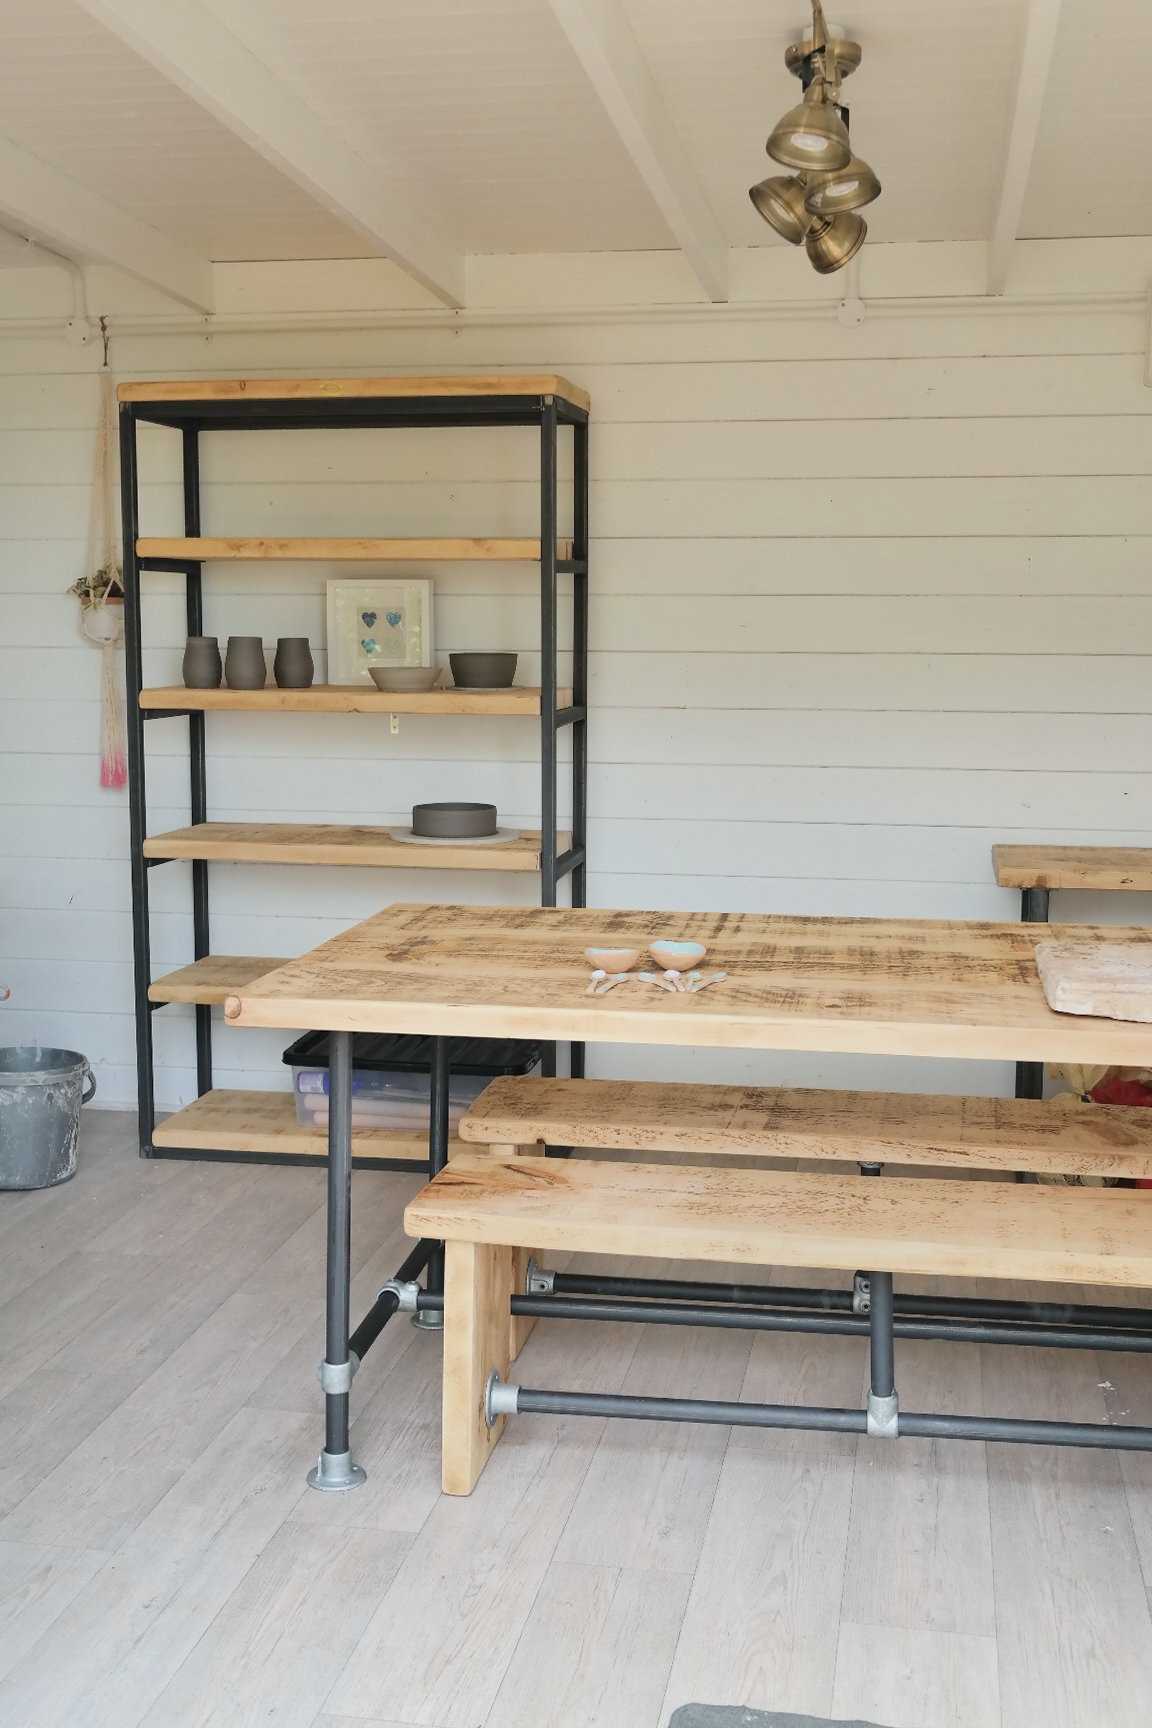


I bought my furniture from a shop on Etsy who made everything from reclaimed wood and gas piping. Unfortunately, they no longer seem to be trading but there are lots of companies making similar furniture, just type ‘reclaimed wood table’ into Etsy.
My new studio has been a total game-changer. It’s an absolute joy to work in. I have the space to work efficiently, I am not on top of myself. I also now run intimate pottery workshops and one to one teaching. It took far more hard work, money and if i am honest stress than we could have imagined (maybe we just made a meal out of it) but if you asked me is it worth it - a thousand million times YES! I love it so so much!!!
My top tip for building a garden studio: unless you live in an isolated farm house in the middle of nowhere - I expect you’ll need to call on your neighbours for a hand at some point in your lives. If you are planning to undergo a project such as this - tell your neighbours what you are doing well in advance- there’s nothing like a surprise building going up to hack people off! My neighbours Susie and Paul are two of my best customers and our dear friends - I am so very grateful for their kind support throughout this project. I’d also like to say a big thank you to: my Dad again for superb decking skills and electrical advice, my father in law Tom Snr for his substantial excavation prowess, David Kelly for his wise words on business and plumbing, Megan & Jon Heath for cheering us on, bouying us up and chilling us out and the rest of the village for their patience and support with the countless lorry deliveries. Oh, and of course all of the lovely trades folk who worked through this Summer’s insane heat without complaint! And last but not least my husband, Thomas - for basically giving up his summer to help me bring the studio to life.
If you enjoy my blog, found it helpful or inspiring - you’re going to really love My Pottery Club
My Pottery Club is a place where I share loads of great pottery resources;- monthly detailed video pottery tutorials, tips, tricks, recommendations, lessons and learnings from my 15 Years of potting, PLUS limited edition work and seconds sales. I answer all of your questions - no question is a silly question! I’d love to see you there.
K x